Thursday, May 5, 2016

Sew Along #14 - Frannie Dress - Lesson #1

The Frannie Dress by Children's Corner

** If you would like to see an image on our blog in a larger format, just click on it to enlarge.

Note: Links to products within this post are either links to our website or affiliate links.

Please read the directions in your Frannie Dress pattern all the way through before you begin.  It's probably a good idea to read through this lesson once before you begin also.

Day 1 - Tracing the Pattern, Cutting Out the Fabric, Creating Piping, and Sewing the Collar

1. Unfold your pattern sheets, locate the pattern pieces for your size and fussy cut around them.  There will be three pieces; the dress front, the dress back, and the collar.  

2. With most tissue patterns I like to iron the pieces before I trace them.  This ensures that they are nice and flat and makes tracing easier.

3. I also like to place a piece of white paper behind the pattern piece when my surface is dark to make the pattern lines easier to see.

4. Place a piece of freezer paper, shinny side down, on top of your pattern piece.  Use some pattern weights or tape to hold it in place.

5. Using a Sharpie, carefully trace around your pattern piece.  Make sure to transfer all markings and information onto your freezer paper. 

6. Next, fussy cut around your freezer pattern piece.

7.  Repeat for all three of your pattern pieces. 

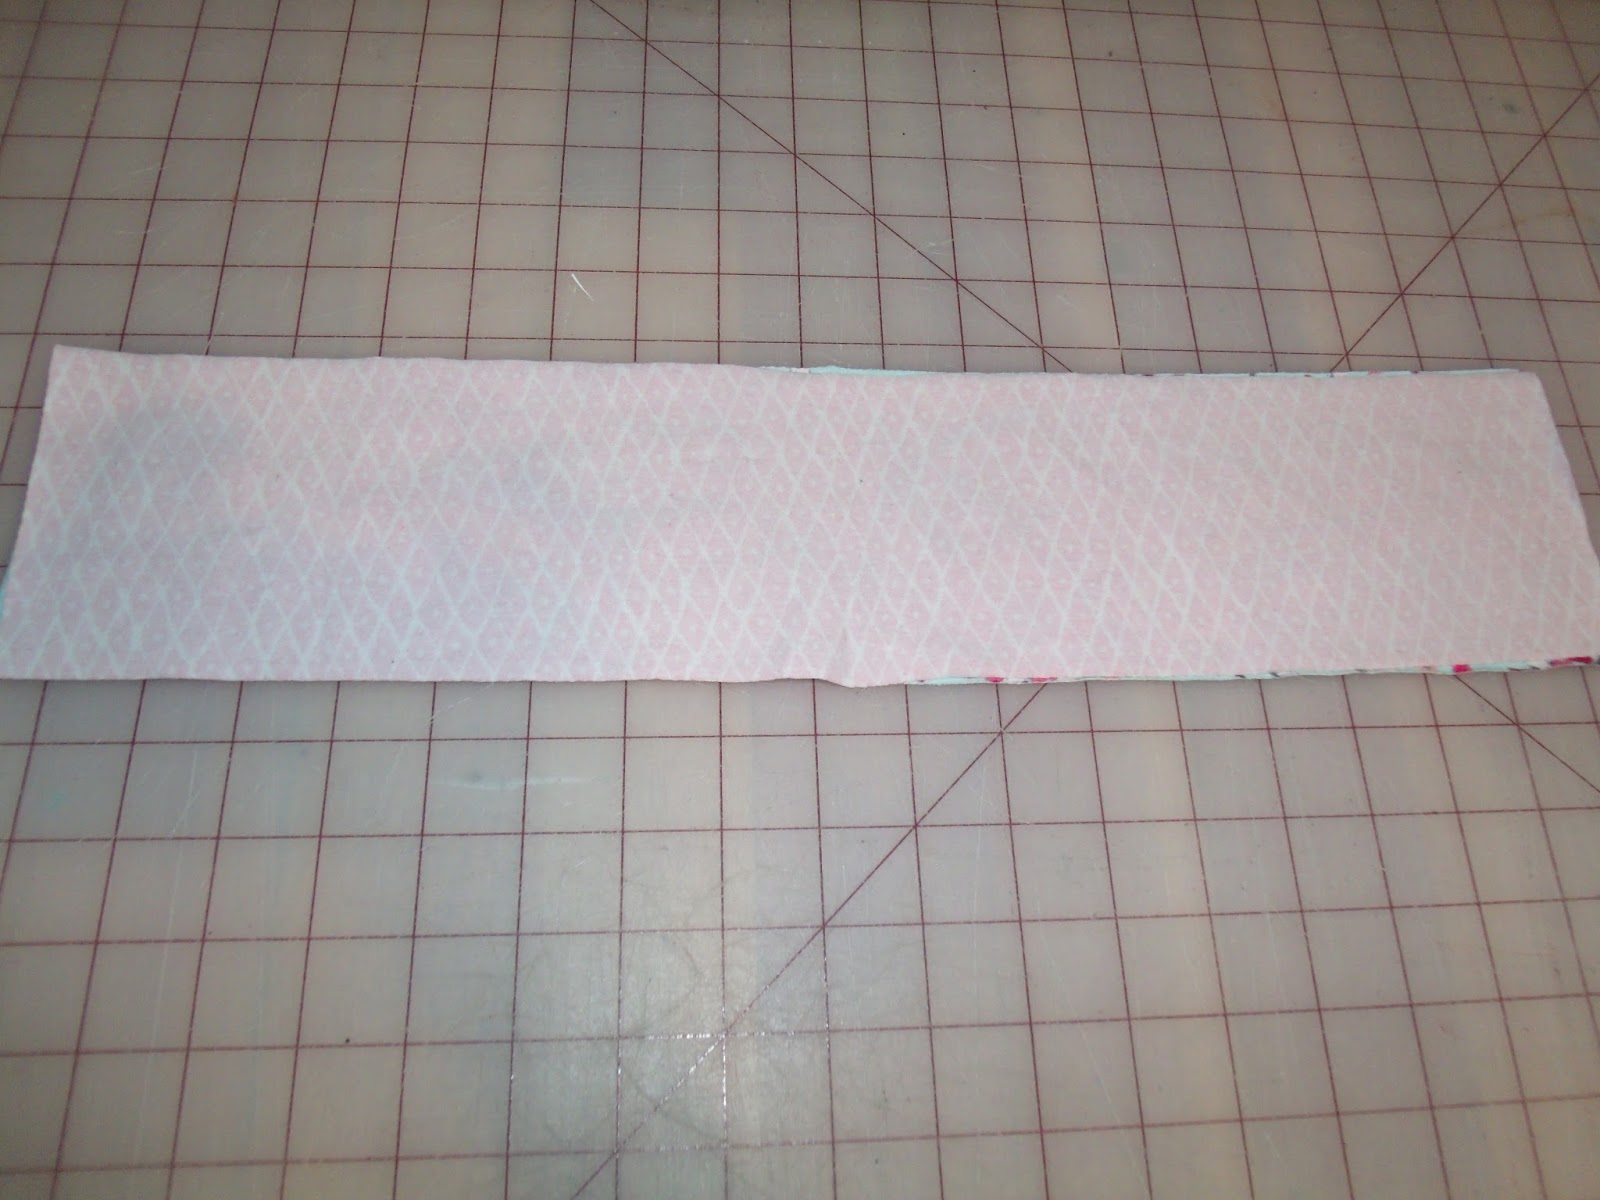
 8. Grab your stack of prewashed fabric and trim.

9. Give your fabrics a good pressing with your iron to remove any fold lines.
Like my husbands fix for my Rowenta?

10. Now, the beauty of freezer paper patterns.  I love this stuff!!  Using the layout diagram in the pattern instructions, lay out your freezer paper pattern pieces, shiny side down onto your dress fabric.  Take your iron and iron over the pattern piece. 

DO NOT touch the iron to the glossy side of your freezer paper! It will melt and make a mess of your iron.

11. The freezer paper will temporarily stick to your fabric making it super easy to cut your pieces out.

12. Once you have ironed on your pattern pieces onto your dress fabric go ahead and carefully cut them out.  Don't forget to transfer all of the pattern markings onto you fabric (shown here on the lining fabric).

13. After cutting out and transferring the markings to the dress fabric carefully peel off the freezer pattern pieces and apply them the same way to your lining fabric.  The beautify of the freezer patterns is that you can use them over and over.  Next time you are ready to make another Frannie Dress just pull out your pattern pieces, iron them on your fabric, cut, and go!  How awesome is that?  Don't you just love it?
Note: I chose to make my collar out of just the lining fabric because I  wanted the look of the solid collar.  You may use your dress fabric, lining fabric, or a coordinate.  It's totally up to you.  If using your coordinate fabric for the collar, please make sure to place them in a way to ensure you have fabric left over for creating the piping and the ties if you so wish.
When cutting out your collar, make sure that you line up the grainline on the pattern piece along the lengthwise grainline of whatever fabric you choose to use.  This is very important. 
14. Cut four ties, 1½" x 11" each. - Okay, I actually cut my longer. For the size 7 dresses I just made my daughter I cut them 1½" x 15".

15. You should now have the following;
  • 1 Dress Front
  • 1 Dress Front Lining
  • 1 Dress Back
  • 1 Dress Back Lining
  • 2 Left Collars Pieces (one reversed)
  • 2 Right Collars Pieces (one reversed)
  • 4 Ties
If you would like to add a ruffle to the bottom of the dress you should cut that out now.  The Frannie Dress pattern comes with an insert that guides you in how to cut and add a ruffle to your dress.  I will not be adding a ruffle to my dress.

16. Grab your dress back and mark your seam line ¼" from the edge at the center of the collar.

17. Mark two lines ⅛" from center on either side.

18. Using a straightedge, draw two line down from your previous lines to the slit dot.  Repeat for the back lining.

19. With right sides together line up the shoulder seams of your dress front and dress back.  Using a ¼" seam allowance stitch together. Repeat with your front and back lining.

20. Press all shoulder seams open.

21. We are going to go ahead and make piping now. If you will not be using piping go ahead and skip to step #29.

Lay out your fabric and fold it so that the cut edge and selvage edge line up. We will be cutting on the bias, the folded edge.  See the diagram above.

22. The petite cording takes about ¼" of fabric to wrap around it. We need a ¼" seam allowance on our piping. So we need a strip of fabric ¾" wide of fabric to make our piping. ¼" + ¼" + ¼" = ¾"  Since the first cut is on a fold, cut it 3/8" wide. Then cut the rest of your strips ¾" wide.

23. Now, lay out your ¾" strips like this.

24. Sew across the them from the top left corner to the bottom right corner. You can draw a line with chalk if it helps.

25. Trim off the seam allowance and press open.

26. Once you have joined all your bias strips it's time to iron them in half lengthwise.

27. Open up your bias strip and place your cording in the center.

28. Using a piping foot or a zipper foot, sew down the bias strip right along the cording. I always lengthen my stitches when I sew piping. I change my normal 2.5 to a 3.5. It also might help to increase the pressure on your presser foot. Make sure your cording is hanging an inch or so out the end. (See it there in my picture?) Go slowly and make sure you don't "jump" over your cording.

29. We are now going to sew the collars.  Mark the outer edges with ¼" seam allowances on both top collar pieces. This isn't really necessary if you are adding piping but is VERY helpful if you are adding ric-rac. If you are adding piping instead, skip down to step #35.
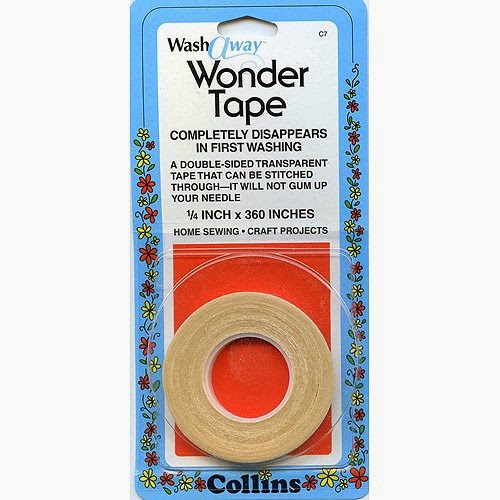
30Grab your Wonder Tape or glue pen and apply it to your prewashed ric-rac.

31. Carefully apply the ric-rac to your seam line.  Make sure to start at the front of the collar. You want the valley of the ric-rack located on the inside of the collar to just barely cover the seam line.  You can stretch the ric-rac slightly around the curves to make it fit.
 
32. With right sides together, place your bottom collar piece on top of your ric-rac making a ric-rac sandwich.  Stitch the outer curved edge using a ¼" seam allowance.  Turn your collar right side out.

33. You might end up with Wonder Tape or glue showing on the outside.  
 
34.  Place a pin or Wonder Clip into the ric-rac tail at the front of your collar so you can remember which end if the front.  Then, carefully wash away the Wonder Tape or glue with warm water.  Pat to dry and then hang from the back ric-rac tail to dry all the way.  Make sure to keep the pin in place so that you know which end is the front when you are ready to sew the collars onto the dress.  
 
If you are not applying piping to your collar you are now done with today's lesson. Skip down to the bottom for directions on how to add your picture to the Facebook album and a chance to win a prize.

35. If applying piping add the piping to the right side of one of the collar pieces. Make sure to line up the raw edges of the collar with the raw edges of the piping. Keep track of which is the front of the collar. This does make a difference. Mark it with something if need be.

36. Clip around curves to make your application smooth.

37. Using a basting stitch and your piping/zipper foot baste your piping onto your collar.

38. Place the other collar piece, right sides together, on top of your collar and piping, creating a piping sandwich

39. Using your piping/zipper foot again, stitch as close to the cording as you can. Since the piping has a ¼" seam allowance this will create the ¼" seam allowance needed for your collar. Don't forget to shorten your stitches from basting in the previous step. Go slow and be careful.

40.Trim down your seam and clip your curves. Repeat with the other collar.

41. Turn your collars right side out and press well. Make sure to keep track of what is the front and what is the back of each collar. I used Wonder Clips here for that purpose.

We are done with our first lesson.  Woo hoo!  Great job!  Check back here tomorrow for lesson two. 

* If you would like to enter the prize drawing, please make sure you submit a picture of your completed lesson one to the Facebook Album by 12:00 noon CT, Monday, May 9th. Also, if you have any questions the Facebook Group is a great place to ask.

Thanks for sewing with me,
Danielle Storm

Wednesday, May 4, 2016

Sew Along #14 - Frannie Dress - Preparations

The Frannie Dress by Children's Corner

Before we begin the sew-along on tomorrow, May 5th, you'll want to gather a few items and do a few things to prepare.

Items to Collect
1. You must have the Frannie dress pattern by Children's Corner to complete this project.  If you have not yet purchased it, please do so here.
If you do not have fabric for the project you will want to purchase that also.  
 

2. At the time of this writing we do have a some fabric kits available.  We also have lots of fun fabric selections on our website. 
http://www.whimsicaldesignsclothing.com/index.php?main_page=index&cPath=367_397
 
3. You will need coordinating thread to complete this project.  The project kits did not come with thread, so please make sure you have some.  

4. When we taught the Frannie sew-along previously we used ric-rac to trim out the collar.  If you would also like to use ric-rac we do have a wide range of colors available on our site. In addition,one of the kits available at the time of this writing also comes with ric-rac. The remainder of the kits do not.
http://www.whimsicaldesignsclothing.com/index.php?main_page=product_info&cPath=72_401_402&products_id=6184
 
5. During the current sew-along their are additional instructions for adding piping to the collar and armscye. We will be making our own piping during the sew-along. For this you will need a coordinate fabric and petite cording. All kits came with coordinate fabrics and petite cording for this purpose. If you don't have petite cording and would like to add the piping, you will need to pick some up.
http://www.whimsicaldesignsclothing.com/index.php?main_page=product_info&cPath=72_40&products_id=820
   
6. Frannie has the option of creating ties or adding elastic to the underarm casings. I prefer the ties and have included them in this sew-along. If you choose to do the ties you will most likely want a coordinate fabric to create them. All kits came with coordinate fabric for this purpose. 

 7. If you prefer not to create and use the underarm ties then you will need ¼" wide elastic. I did include that with the kits, so if you purchased a kit you are all set.
http://www.whimsicaldesignsclothing.com/index.php?main_page=product_info&cPath=72_100&products_id=1919
   
8. You will need a small button to close the back of the dress. The kits come with a button, so if you purchased a kit you are good to go.    

9. During the previous Frannie sew-along we added decorative buttons to the front of the dress.  If you would like to purchase some from us we carry a wide selection of adorable Riley Blake buttons.  Again, one of the kits does come with decorative buttons. The rest of the kits do not.  

10. I like to add a bit of fusible interfacing behind the buttons when I make the Frannie. This gives them some strength.  You only need a small piece.  About 1½" by 8" will do. This DID NOT come in the kits.    

11. You can either create your own button loop for your back closure with thread (I have lessons for this) or you can use a simple little time saving hack. The hack is to use a small hair tie inserted into the seam as an elastic loop for your button closure. All kit did come with a hair tie. 

12. You will need some sort of fabric marking instrument.  You can use chalk, a marking pencil, washable fabric pen; even a bar of soap will work. 


12. And finally, you will need pins, a sewing machine, a good iron (a steam iron is preferable for sewing), a pair of fabric shears or a rotary cutter and mat, and a ruler.  

Optional Items to Collect - The following items are totally optional.

1. I will be tracing the pattern pieces onto freezer paper.  I highly recommend this method.  In addition to keeping your original pattern pieces intact, it also makes cutting out your fabric super simple. You can find freezer paper at most grocery stores where the wax paper and aluminum foil. 

2. A sharpie or other permanent marker for tracing your pattern pieces onto the freezer paper is helpful.  I recommend a black sharpie as the colored ones, though more fun, can tend to transfer onto your fabrics when you iron over them.  Ack!  Had that happen recently and I was so sad.  

3. You have the option of making a buttonhole loop on the back of the dress.  If you have access to embroidery floss you might find it is easier to work with than sewing thread for this step.  If not, you can just use sewing thread.    

4. If adding ric-rac you will find it much easier to attach your ric-rac to your collar if you use either Wonder Tape or a glue pen.  I prefer the Wonder Tape.  It's a double sided tape that washes completely away when you are done.  You can find it at most any fabric or discount store that carries sewing supplies.  If you don't have Wonder Tape you can just use a child's washable glue stick for the ric-rac.

http://www.amazon.com/gp/product/B001IKEOE4/ref=as_li_qf_sp_asin_il_tl?ie=UTF8&camp=1789&creative=9325&creativeASIN=B001IKEOE4&linkCode=as2&tag=whimsfabri-20&linkId=N424NDTIZEJQYRL2


Things to Do

1. Make sure to prewash and preshrink all of your fabrics.  I wash my fabrics on warm/hot and then I dry my fabrics in the dryer with no softeners.  I always preshrink this way when I am using fabric for clothing construction.  I would hate to work hard on something only to have it shrink and not fit when I was done.  

2. You should also prewash your ric-rac. Prewashing will help prevent any bleeding when you launder your completed garment.  First, take a match or lighter and lightly melt the edges of your trim so that is won't fray.  Then, using a lingerie bag if you have one, wash your ric-rak on warm/hot in your washer.  If you don't have a lingerie bag you can just wash your ric-rac in the sink by hand.  Hang your ric-rac to dry.   

3. Prewash your fusible interfacing to preshrink it.  This will prevent any wrinkles or waves that might arise when you launder your garment.  To prewash your interfacing simply soak it in a sink for about 5 minutes in very warm water.  You don't want the water too hot to avoid removing the iron-on finish, but you do want it warm enough to shrink the interfacing.  After soaking, just pat it with a clean towel and hang it to dry.  

4. Press your fabrics well.  I try to do this straight out of the dryer so that the wrinkles come out easier. Obviously, don't press your fusible interfacing.   

5. If you haven't already, join our Facebook Whimsical Fabirc & Me Group so you can post your progress pictures.


The Prizes
Did someone say something about a prize? I love prizes and I know you do also. At the close of the Frannie Sew-Along we will be giving away Whimsical Fabric $10 gift certificates to 5 lucky winners! Make sure to join the Facebook Group so you have a chance to win.

 We will give out entries for the prize drawing at the end of the sew-along. There are three different ways to earn entries into the prize drawing.

1. At the end of each lesson posted on this blog there will be a link to add a picture of your completed lesson into a photo album on our Whimsical Fabric & Me Facebook group. Each day that you turn in an assignment on time you will receive 1 entry per item you create. Thus, the more items you make, the more entries you will receive.

2. We will also award 1 entry for purchasing the Frannie pattern from the Sew-Along #14 Category. Note: This purchase must have been made in 2016 and before this sew-along starts.

3. In addition, if you purchased a kit from the Sew-Along #14 Category we will award you another 2 entries for each kit purchased. *Note: Patterns purchased within the kit count as pattern purchases outlined in step #2 above and the kit purchases must have been made in 2016 and before this sew-along starts.

Happy Sewing,
Danielle Storm
www.whimsicalfabric.com

Tuesday, May 3, 2016

May Tutorial Tuesday - Whimsical Wraps

Alyssa of Keep Calm and Carrion brings us our May Tutorial Tuesday

**Note, click on the pictures to enlarge them for better detail**


For this month's tutorial I am going to teach to to make Whimsical Wraps!

This tutorial is super fast, and since it's May, I'm making mine in adult size for myself for Mother's Day, but I'll give you the measurements that worked for the kiddos as well.  Since they stretch, the sizes are pretty flexible!

Whimsical Wraps - catchy name right?  There are two different versions, that will give you slightly different final looks - The single twist and the double twist.

The single twist will result in you seeing half of each fabric while worn.

The double twist will result in you only seeing the second fabric in the twist, and you'll have a reversible headband with a different focus fabric on each side. 

Here's what you'll need:
* 2 coordinating knit fabrics 
           you want good stretch and recovery - so check out our Knits Section for some great cotton/spandex knits that will work perfectly.
* Sewing machine
* hand sewing needle
* coordinating thread
* cutting mat, ruler and rotary cutter or scissors

This tutorial uses a 3/8" seam allowance.

1. From each of your two knits cut the following:
           Adult headband:  18" x 4" (greatest stretch needs to go along the 18" side)
           Child headband:  16" x 3.5" (greatest stretch needs to go along the 16" side)

2. Place the strips right sides together and sew along both long edges. 

3.  Turn right side out and press well along long seams. 

4. For the one twist version continue here, for the double twist, skip to step 12Take your pressed tube, and flip it once at the middle.  

5.  Now take the raw edges and bring them together, keeping the twist in place.  You'll want to line up the seams, and you'll have opposite fabrics together.

6.  This next part is a little bit awkward, and I find it easier to do on my sewing machine, not my serger, so I have the seam allowance left over to tuck for the hand sewing portion.  Here is what you're going to to.  Making sure you only grab two layers at once, position them under your presser foot.  Using a stretch or zig-zag stitch, sew starting at one seam all the way around as far as you can go.  Eventually, the headband will get in your way, and you'll have to stop.  You'll end up with a gap of about 1" to 1 1/2" left.  
eek! I lost a Jamberry!
7.  Now tuck the seam into the headband and this is what it should look like.  

8.  Now we are going to hand stitch this gap closed using a ladder stitch.  

9.  Start under the seam on one side of the headband and bring your needle out about 1/8" forward. 

10.  Now bring your needle through the other fabric and come out another 1/8" forward.  Repeat until the entire gap is closed.  Tie off your thread and tuck the knot in and snip the tails.  

11.  Now press this seam well, flip the headband over and press the twist well, and this version is done!

12.  Continue here from step 4 for the double twist version.  Take your headband and flip over at the middle.  Then flip over at the middle again, so that there is a twist in the middle, but the same fabric is showing at both ends.  

13.  Now line up the seams again and this time when you bring the raw edges together, the same fabrics should be facing each other.  

14.  Now follow steps 6 through step 11 to complete this version.

And here's me attempting to show them off!!  

I love them and wear one pretty much every day - and I love that they don't use a lot of fabric and are fun to mix colors with!  I hope you enjoy this tutorial and please head over to the Facebook Group to show off what you make!

~Alyss
Keep Calm and Carrion


Monday, May 2, 2016

May Quilt Along Challenge


Hello, Sharon again. It must be the first Monday of the month, because it is our Block of the Month post! This month's BOM is called Hearts for Mom. For this block we will be using only rectangles and squares to make our heart block, so it uses only techniques that we have already learned.  I hope you ladies will enjoy it as much as I have!

In case you missed the announcement in January, I will give you a little recap. On the first Monday of each month, I will teach one quilt block pattern. You have until the last Monday of the month to sew your quilt block(s) and enter them into the album in our Facebook group, Whimsical Fabric & Me, and/or blog about your quilt blocks and link up your blog post in our link party (see below).
 
Prizes
Each block that you sew and enter into the Facebook Album  will count as one entry into our monthly drawing. If you make two blocks, that is two entries. Make four blocks, that is four entries, and so on and so on. There will be a prize drawing each month.

In addition to the prize giveaway on the Facebook group, we also have a monthly Link Up Party. Blog about your entry and link up your post and you will automatically be entered to win a second prize.

Note: You CAN enter both giveaways to increase your chances of winning!
This month's prize is a Riley Blake Medium Dots Charm pack 

Supply List:
quilter mat
rotary cutter
quilter's ruler
long scrap fabric pieces

Let's get started!! 
1. You will need to cut two rectangles for your hearts. Cut all of these pieces out with your quilter mat, ruler, and rotary cutter.

(2)  4¾"x 2¾"
(Note: If your blocks that you made previously measure a finished size of 5" you will need to cut these pieces  5" x 2¾".)
(4) 1¼" square 
(2) 2¾" square


2. Take all of your squares and mark a center line with a fabric marker right through one corner to the opposite corner as to divide the square into two triangles. These will serve as our stitching lines.

3. Take two of your smaller squares, one of the lager squares and one of your rectangles and lay them out for sewing. Place the two smaller square up in the top two corners as shown below.  Then take your larger square and place it with the mark you made starting at the middle left of the rectangle then going out to the right side bottom corner of the rectangle. If you look at at your lines you drew it should make up half a heart at this point. Pin all of your blocks in place.

4. Now we will sew all three squares onto our rectangle by stitching over the lines we made on the square pieces.

5. Trim the seams down to about a 1.4" on each square you have just sewn on.

6. Press all your seams towards the outside of your block. (This will be the left side of our heart.)

Here is a look at the back side of our block with the seams pressed.

7. Now onto the right side of our heart. Take and lay out your block in the same manner as the first, except for the bottom square. Place the larger square at the bottom with the bottom of the line you drew facing the bottom left corner of you rectangle and the top of the line facing the right side middle of your rectangle. Pin these in place, then stitch over your lines and trim as before in step 4 and 5. This time when you press your seams press them facing towards the center of your block. This will help us to "lock" seams on the next sewing step for perfectly matched seams.

 8. Now take your two heart halves and place them next to each other.

 Place the right side over on-top of the left side with right sides facing each other. Pin on the long side of the heart.

9. Stitch the long side of the heart with a 1/4" seam allowance.

10. Press your center seam to one side(either side is fine).

This is a look at the back side of the seams. I did press the bottom of the heart in the same direction, but the two top in the opposite direction as to help lock those two seams together.

11. Trim your block so that it is square on all sides. 

That's it, we are all done with our block.  Now repeat these steps as many times as you would like!  

Facebook Group
After you have sewn all your blocks together for this month please go over to our Facebook group and share each of your blocks in our May Quilt Along Album for a chance to be entered into our monthly drawing! You have until Tuesday, May 31th at 12:00 pm (noon) CT to enter your blocks. 

Link Up Block Party
In addition, if you blog, write up a short blog post about your quilt-along block(s) and link up your post in our Link Up Party.  The button is located below. In addition, 
1. Grab the May graphic, share it in your blog post, and link it back to this post here to let all of your followers know you are partying with us.
2. Share about your blog post on all your favorite social media outlets.
Note: We will be sure to visit and comment on your blog. We love interacting with our followers!

Remember, there is no required amount that you need to make.  Make as many or as few as you would like.

Happy Sewing!! 
Sharon
An InLinkz Link-up