Showing posts with label Corduroy. Show all posts

Tuesday, September 27, 2016

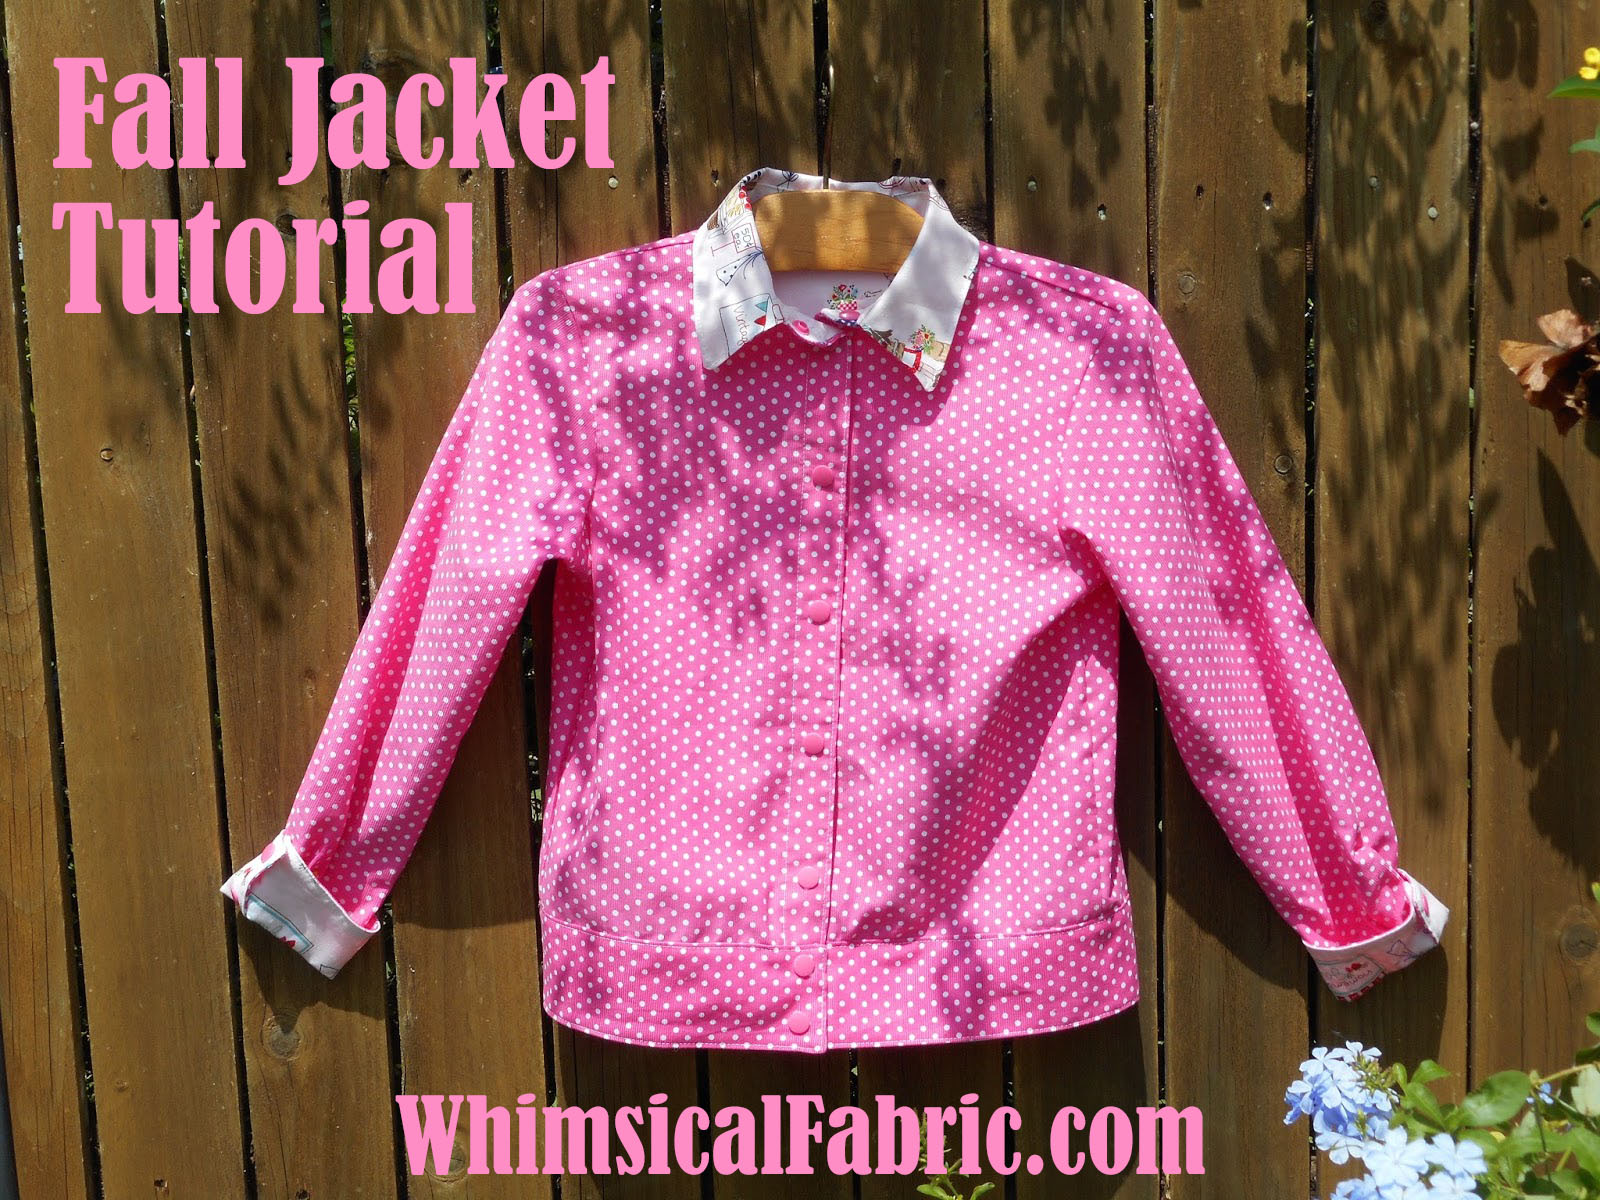
September Tutorial Tuesday #4 - Charlie's Camp Shirt Turns Fall Jacket

** If you would like to see an image on our blog in a larger format, just click on it to enlarge.

Hi, Granma Texas here (AKA Barb Selvage). Now that the weather may be getting chilly in your area, (not here in Texas) your kiddo's may just need a little something to wear to school.

Note: Make sure to read until the very end for a great sale Whimsical Fabric has going on for just one week!

 I love to work with patterns I already have. This idea came to me after I finished making my Grandson a "Charlie's Camp Shirt". Many of you know this is my favorite pattern. I have made more than I can count so I generally have one cut out on my sewing table. It took some planning, but once you have the pattern pieces ready it takes no time to make.

So all you need is a main fabric, a contrast fabric, buttons/snaps, any trim you wish, and the "Charlie's Camp Shirt" pattern. Everything is available from Whimsical Fabrics! 
I used Fabric Finders Hot Pink Dot Corduroy for my main fabric, Riley Blake Vintage Market in pink for the contrast.

I wanted to make a jacket a little different than the shirt. I decided a band on the bottom would make it look more like a jacket than a corduroy shirt.

Cut out the size you want and lay pieces together. Since this is a shirt pattern you need to adjust the length (bottom) for the jacket. I wanted my finished length 18.5".

 Next, I cut a band pattern piece to the length and width I wanted.

I made mine wider than necessary so I could adjust for a proper fit. Place you band on the pattern piece where the finished length should be and see if it is where you want the band. If not you can adjust size and placement now.

Now you will need to draw a cutting line on the pattern to allow the band. Remember to leave a 1/4" seam allowance. Cut along this line.

Lay all the pieces together to check for proper fit and look. Measure, measure, measure!

Now adjust any other pattern pieces. I took off 4".

Measure to be sure the same amount has been taken off the front and back.

Almost finished with  the pattern pieces....only a few more! LOL! But, it is so worth it.

I wanted my cuffs lined with a contrast. So I folded the cuff in half and then added 1/4" for the seam.

I wanted my collar and neck band to be lined with the contrast. so I marked that on the pattern pieces. Be sure to mark all pieces for how you want your main fabric and your contrast. It may seem like a lot of work, but it only takes a little while. And it is so worth it.

Cut out your main fabric and contrast fabric. And proceed like you are making the shirt.

I did a contrast on the back yoke lining.

I made a contrast band for where the buttons/snaps go in the front. It took some thinking. Here is how I did it:

I measured the front center line and cut 2 strips 2 x 15".

Marked a 1/4" seam line on each.

Placed the strips so my seam line is on the center front line (right sides together).

Placed my marked line on the center front. The marked line will become you stitching line.

Stitch along the marked line.

Press open and finish as per instructions for the shirt.

Inside of shirt/jacket.

Don't forget to topstitch.

I used a contrast for the cuffs, collar, and band. I prepped each before I put them on according to the pattern instructions. I continued using them as if I did not contrast.
Be sure to press.

Mark all pieces. I used contrast for the sleeve placket.

Attach the cuff.

Attach the band.

I attached the band right sides together.

Stitched the main fabric. Folded and pinned the contrast and hand stitched closed so there are no unfinished seams.

Outside of jacket.

Made the collar the same way.

Don't forget to top stitch!

Add buttons or snaps and any trim.

Press! And you now have a jacket for chilly weather!


Save all your scraps! You never know what you can make to match!

This would make a great boy's jacket too! I chose brown corduroy and a cute contrast! That is what is on my sewing table now!

BONUS!! This week Whimsical Fabric has all of their corduroy, twill, chambray, and denim fabrics 20% off! All perfect fabrics for making this fall jacket. We even threw in the Charlie's Camp Shirt PDF Pattern in this sale for you! The sale lasts through Monday, October 3rd.

Happy Sewing!
Granma Texas (Barb)
www.whimsicalfabric.com

Note: Links to products within this post are either links to our website or affiliate links.
 

Tuesday, November 10, 2015

CC Ruthie Dress Pattern Review and 20% Off Coupon


Today we are reviewing the Children's Corner Ruthie Pattern. This pattern is rated as a moderate sewing level with two different options; one short yoke dress with short sleeves and one full yoke length with long sleeves options. Both versions can be mixed and matched. The pattern comes in two different size ranges as well, the smaller contains sizes 1-4 and the larger contains sizes 5-8. Today I am reviewing the long sleeve, full yoke dress version in a size 6.
Note:Please click on images to view in a larger format.

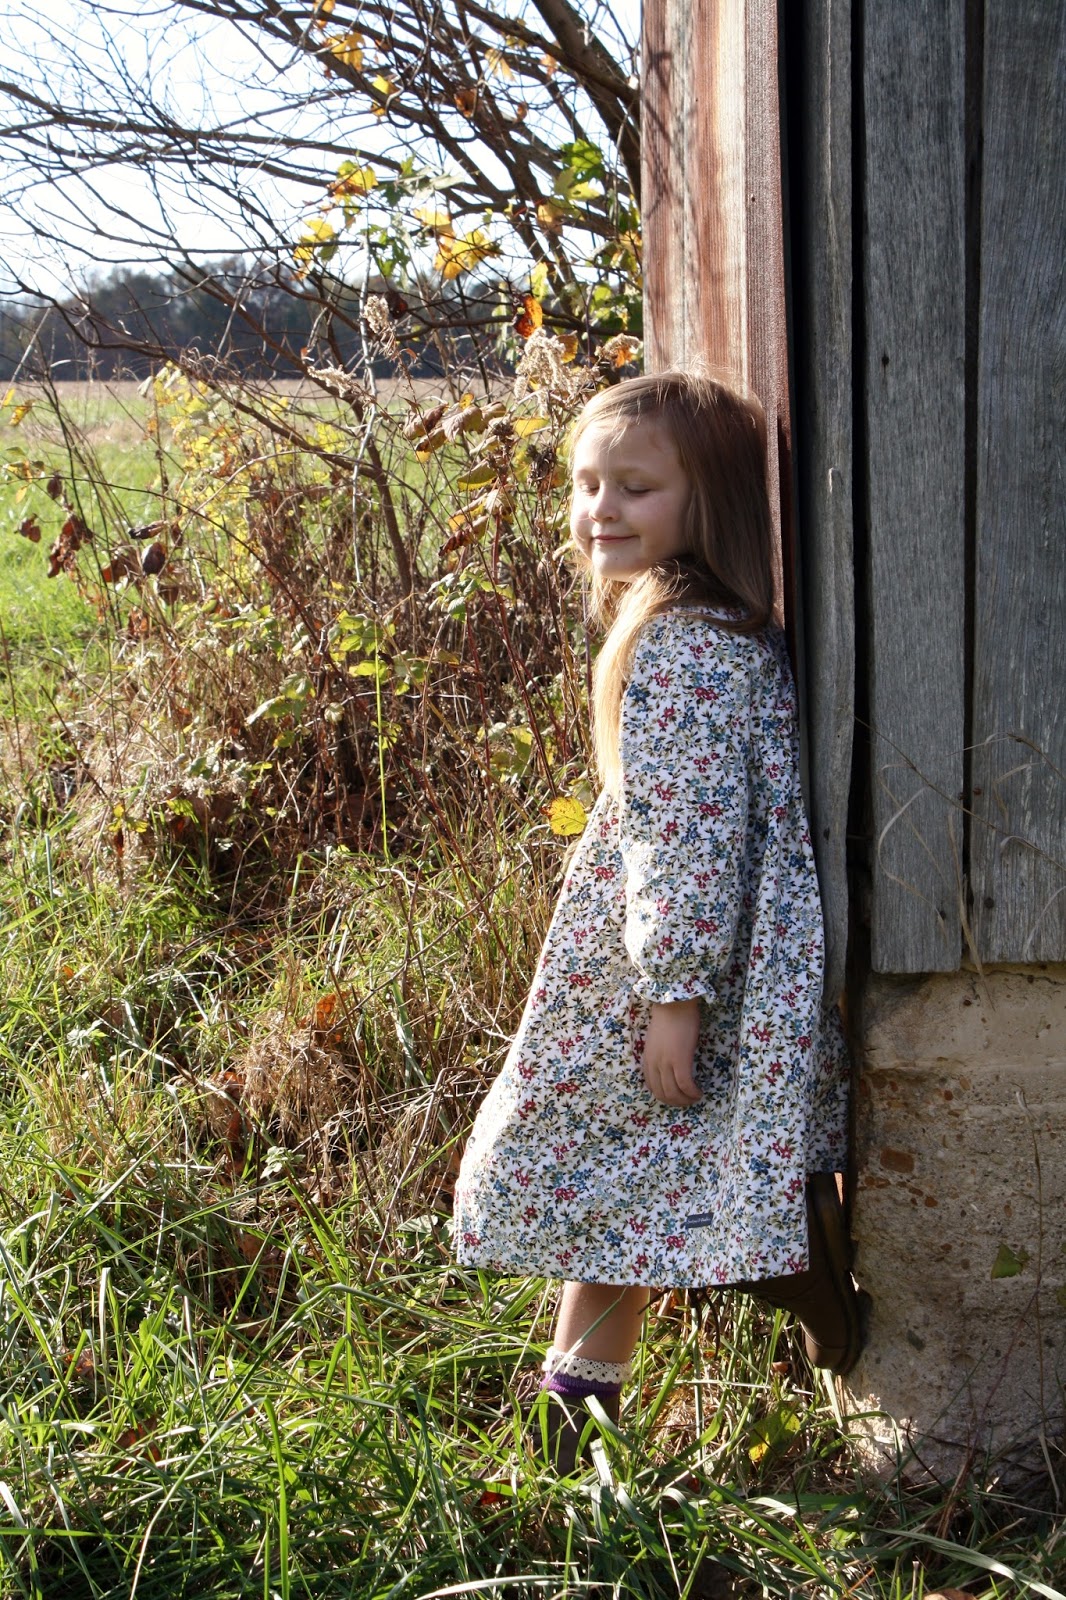
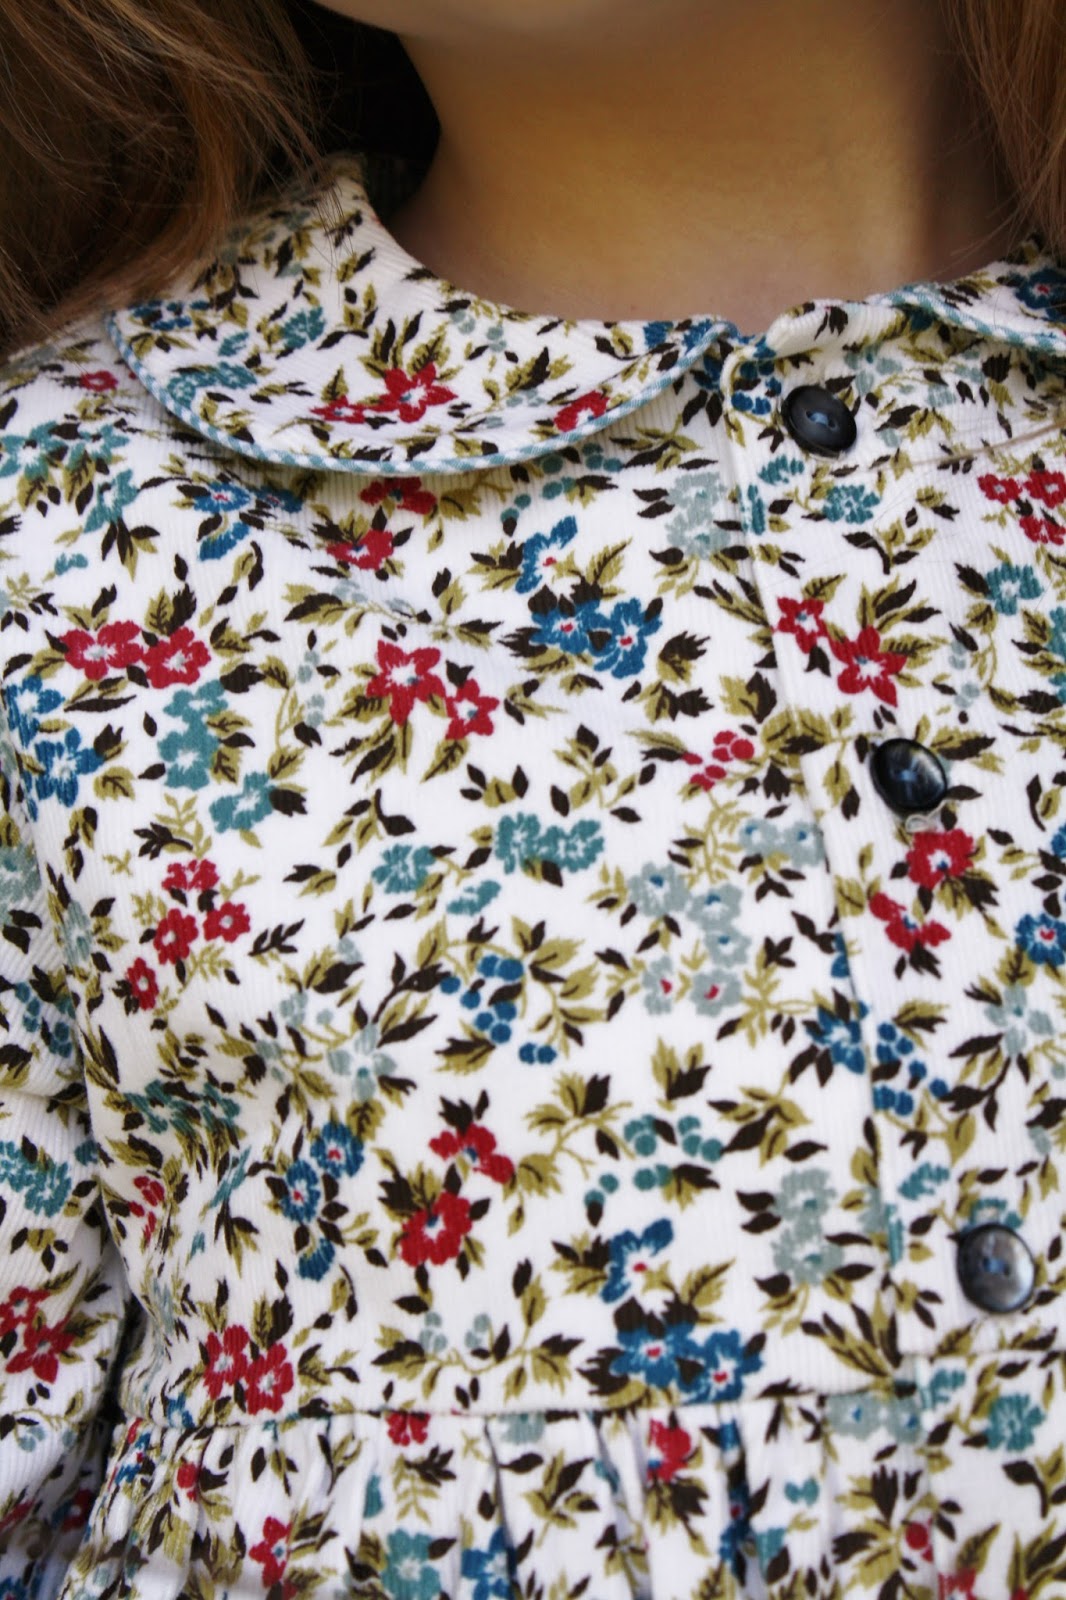
For this dress I used Fabrics Finders Country Floral Corduroy for the main part of the dress and  Wedgewood Gingham for the lining and piping on the collar. My daughter and I both love how warm and cozy the corduroy fabric is, perfect for autumn. The gingham is just as soft and lovely as well.

The dress features a full button down front bodice and skirt, a one piece collar that wraps around to the back bodice and back again to the front bodice, and has sweet elastic gathered cuffs at the end of the sleeves. The bodice is fully lined, but unlike other dress patterns I have used before, this one requires no hand stitching! The instructions have a clever way of sewing the front bodice/lining on the machine to give such a beautiful finish that I used the same method to sew the the back bodice main to the lining as well. The back bodice sewing was a slight modification I made, the pattern calls for it to be hand sewn, but it was very easy to sew the back bodice in the same manner as the front.

I found the instructions of this pattern to be very easy to read and follow. The front bodice pattern piece has the main and lining all in one pattern piece (the front bodice is cut on the fold so only two to cut total) but unlike other patterns that I have sewn, this pattern gives the most clear directions on how to sew the front and back bodice pieces all together without any mishaps. It left me thinking, "How clever!", and I wish I knew this years ago. I will be using the same instructions from now on with other patterns as well. 

In the pattern there are also tips on installing piping on the collar to make it a bit easier. I really do love to make and add my own piping to collars. I used the petite cording that is carried in the Whimsical Fabric shop to make mine. It is the perfect size for this dress.

I also wanted to show you the dress not being worn. I just adore the look of the back bodice peeking out from the front. This is a nice way to add a bit of a fun detail to the dress. My daughter loves when I add little surprises to the inside, such as this lining fabric.

I am am very happy with this pattern and will be using it again and again until my daughter out grows it. Even with making my own piping it was a fairly quick sew. I can see this pattern being made in the short sleeves version for spring and summer. The fit is wonderful. It has plenty of room in it for my daughter to run and play, but still looks beautiful. It is a perfect pattern for us to use for her school wardrobe and more.

All the products used for this dress can be found in the Whimsical Fabrics shop. Click on the links below and use the coupon code Ruthie to save 20% on the CC Ruthie pattern, all Fabric Finders Corduroy fabric, all Fabric Finders Gingham fabric, and Petite Cording now through Monday, November 23rd.
Happy Sewing!
Sharon