Showing posts with label Chambray. Show all posts

Tuesday, September 27, 2016

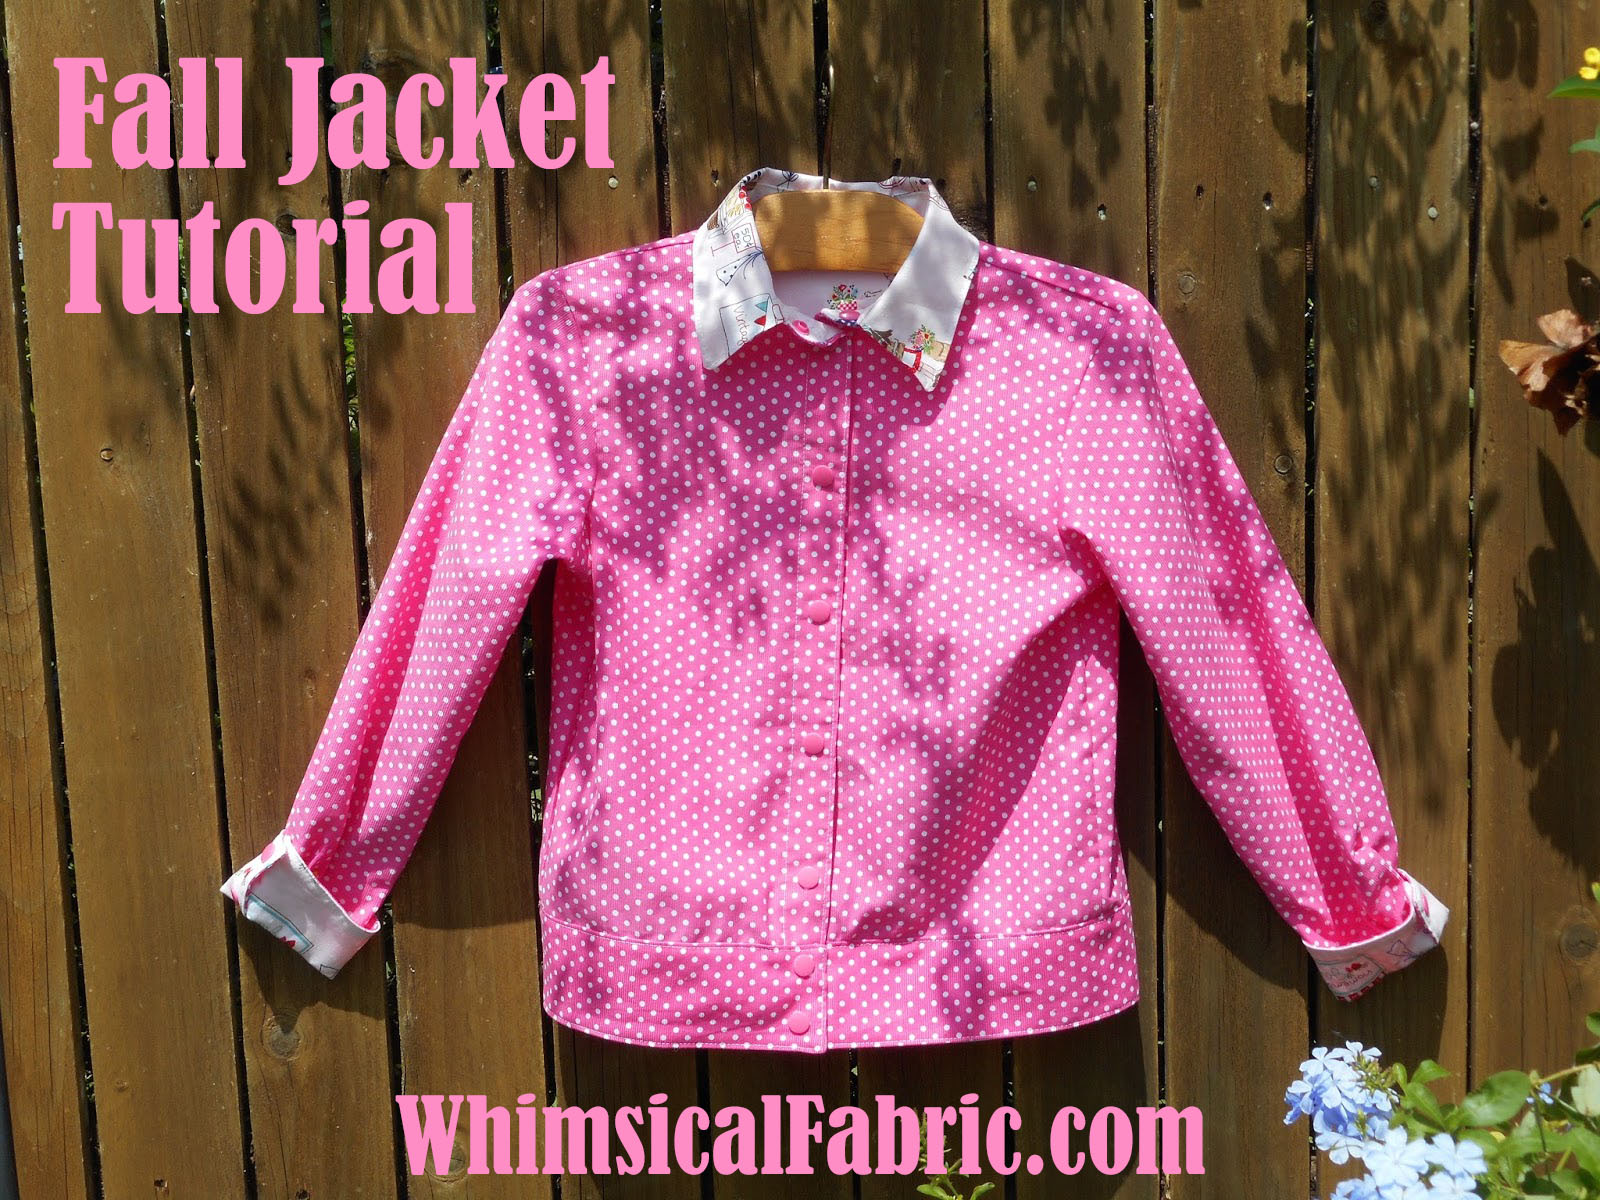
September Tutorial Tuesday #4 - Charlie's Camp Shirt Turns Fall Jacket

** If you would like to see an image on our blog in a larger format, just click on it to enlarge.

Hi, Granma Texas here (AKA Barb Selvage). Now that the weather may be getting chilly in your area, (not here in Texas) your kiddo's may just need a little something to wear to school.

Note: Make sure to read until the very end for a great sale Whimsical Fabric has going on for just one week!

 I love to work with patterns I already have. This idea came to me after I finished making my Grandson a "Charlie's Camp Shirt". Many of you know this is my favorite pattern. I have made more than I can count so I generally have one cut out on my sewing table. It took some planning, but once you have the pattern pieces ready it takes no time to make.

So all you need is a main fabric, a contrast fabric, buttons/snaps, any trim you wish, and the "Charlie's Camp Shirt" pattern. Everything is available from Whimsical Fabrics! 
I used Fabric Finders Hot Pink Dot Corduroy for my main fabric, Riley Blake Vintage Market in pink for the contrast.

I wanted to make a jacket a little different than the shirt. I decided a band on the bottom would make it look more like a jacket than a corduroy shirt.

Cut out the size you want and lay pieces together. Since this is a shirt pattern you need to adjust the length (bottom) for the jacket. I wanted my finished length 18.5".

 Next, I cut a band pattern piece to the length and width I wanted.

I made mine wider than necessary so I could adjust for a proper fit. Place you band on the pattern piece where the finished length should be and see if it is where you want the band. If not you can adjust size and placement now.

Now you will need to draw a cutting line on the pattern to allow the band. Remember to leave a 1/4" seam allowance. Cut along this line.

Lay all the pieces together to check for proper fit and look. Measure, measure, measure!

Now adjust any other pattern pieces. I took off 4".

Measure to be sure the same amount has been taken off the front and back.

Almost finished with  the pattern pieces....only a few more! LOL! But, it is so worth it.

I wanted my cuffs lined with a contrast. So I folded the cuff in half and then added 1/4" for the seam.

I wanted my collar and neck band to be lined with the contrast. so I marked that on the pattern pieces. Be sure to mark all pieces for how you want your main fabric and your contrast. It may seem like a lot of work, but it only takes a little while. And it is so worth it.

Cut out your main fabric and contrast fabric. And proceed like you are making the shirt.

I did a contrast on the back yoke lining.

I made a contrast band for where the buttons/snaps go in the front. It took some thinking. Here is how I did it:

I measured the front center line and cut 2 strips 2 x 15".

Marked a 1/4" seam line on each.

Placed the strips so my seam line is on the center front line (right sides together).

Placed my marked line on the center front. The marked line will become you stitching line.

Stitch along the marked line.

Press open and finish as per instructions for the shirt.

Inside of shirt/jacket.

Don't forget to topstitch.

I used a contrast for the cuffs, collar, and band. I prepped each before I put them on according to the pattern instructions. I continued using them as if I did not contrast.
Be sure to press.

Mark all pieces. I used contrast for the sleeve placket.

Attach the cuff.

Attach the band.

I attached the band right sides together.

Stitched the main fabric. Folded and pinned the contrast and hand stitched closed so there are no unfinished seams.

Outside of jacket.

Made the collar the same way.

Don't forget to top stitch!

Add buttons or snaps and any trim.

Press! And you now have a jacket for chilly weather!


Save all your scraps! You never know what you can make to match!

This would make a great boy's jacket too! I chose brown corduroy and a cute contrast! That is what is on my sewing table now!

BONUS!! This week Whimsical Fabric has all of their corduroy, twill, chambray, and denim fabrics 20% off! All perfect fabrics for making this fall jacket. We even threw in the Charlie's Camp Shirt PDF Pattern in this sale for you! The sale lasts through Monday, October 3rd.

Happy Sewing!
Granma Texas (Barb)
www.whimsicalfabric.com

Note: Links to products within this post are either links to our website or affiliate links.
 

Tuesday, September 13, 2016

September Tutorial Tuesday #2 - Free Motion Applique Pillow

This month's Tutorial Tuesday is brought to you by Laura of Stitches by Laura.

** If you would like to see an image on our blog in a larger format, just click on it to enlarge.

I'm so excited to be sharing how I make pillow covers!

Supplies:
     • FMA Pattern by StitchART - (I used the Birthday Set) 
     3/4 yard Fabric Finders Chambray - (I used Grey)
     2 yards Jumbo 1.5" Riley Blake Ric-Rac - (I used White)
     1 Charm Pack
     1 Travel size pillow (14" x 20")
     Scrap of quilt batting approx. 20" x 28"
     Piece of other fabric for interlining approx. 20" x 28"
     Fusible Web (Amount varies.)
     Thread
     Scissors
     Rotary cutter, ruler, and mat
     Safety pins


1. First, cut your chambray (background fabric) 14" x 20."  Yes, this is the size of the pillow, but we'll trim it down just a little after the free motion applique.

2. YOU are in charge of the appliques - I styled mine after my nephew's children, changing the scale as needed for the different ages. I also flipped the smallest one halfway through tracing so he would be holding both of his sisters' hands. Follow the directions in the pattern or use methods you are already familiar with for creating your masterpiece.

3. After you have your scene created, trim about 2" off each side so that it now measures 10" x 16".

4. Next, we are going to sew on the ric-rac. As shown in the pictures below, position the ric-rac so that half of it is hanging off the edge of your chambray. Pin in place on one side and sew using a scant 1/4" seam allowance.  Trim off excess.  Repeat for the remaining three sides.

5. Now it's time to trim off the overhanging ric-rac.  Yikes, sound scary?  Don't worry, it's not!  Turn your piece over so that the back is facing up.  Using a ruler and rotary cutter or scissors, very carefully cut along the edge of the chambray.  All four sides!
Now you have clean edges all the way around!!
6. Take the charm squares that you didn't cut and stack them up. (maybe 2 stacks!)  Again, using a rotary cutter or scissors cut these in half so that they measure 2 1/2" x 5."
Also cut pieces the same size from the chambray and fabric you used for appliques.
I have a few pieces that are 2 1/2" squares because that's what I could get from the leftover applique fabrics.

7. On to the borders! Lay your appliqued piece on the table and surround it with the strips you just cut.  Keep moving them around until you are pleased with the layout, or go with a random selection like I did (except for the two pieces that were directional). These don't have to be exact, but need to be at least as long as each side!

8. Take your mini strips from one side and sew them all together to form a longer strip that is at least as long as your first side.  Pin to one edge of your appliqued fabric (right sides together), covering the ric-rac and matching raw edges.  Sew this seam, then press open.
See how mine is a little longer at the top edge? 
That's okay, just trim it off straight and even with your rotary cutter!

9. Repeat with the other three sides, remembering to trim as needed and don't forget to press!!

10. After it's all trimmed up nice and straight, we'll get started with the quilting process.  We need to make a quilt sandwich, as shown in the picture below.  The piece we've been working on will be the top layer, the middle will be the quilt batting, and the bottom will be the plain fabric.  I didn't use the chambray for this layer because it won't be seen later, but you can if you want.

11. Using safety pins, secure all three layers together (This is a small piece and doesn't need tons of pins.), then take it to your machine and free motion quilt however you would like to!  I did very sparse "meandering" lines  in the center and stitched on or very near the seam lines in the border.

12. After quilting, remove the safety pins and clip any threads you see hanging about.

13. It's time to measure our mini-quilt.  If your "pretty" top measures 14" x 20"  all you need to do is trim off the batting and backing fabric so that it is even with the top piece.  If your top piece measures a little larger than you need, trim off around all of the edges until it measures the same as your pillow.

14. Cut two pieces of chambray measuring 14" x 27" each.  Fold each piece in half, short sides meeting.  Press, then sew a line about 3/4 inch from the folded edge.  These will form the back of the pillow case/cover.

15. Place the front piece on the table, right side facing up.  Place one of your back pieces on top of the front piece matching raw edges--folded end will be near the center of the top piece.  Pin in place.

16. Repeat with other back piece.  Now it's time to sew all the way around the pillow cover. (We will turn it out through the overlapping back pieces.)  If you plan on washing this later on, it's a good idea to finish the seams either with a zig-zag stitch or using a serger. (I opted for the serger.)
Stitched and serged. You can see where the pieces overlap, right?

17. Turn right side out where the back pieces overlap and give it a good press.

All done!  Insert pillow form and sit back and admire all of your hard work!

Thank you for the great tutorial Laura! To check out more of Laura's creations take a peek at her blog, Stitches by Laura.

And don't forget that this week all precuts (charm packs, layer cakes, jelly rolls, fat eighth, and fat quarter bundles) are 20% off. The sale ends at 11:59pm MT, Friday, 9/16/16.
 
Happy Creating!
Danielle Storm
www.whimsicalfabric.com


Note: Links to products within this post are either links to our website or affiliate links.