
I just love detachable aprons on dresses. Aprons can give a dress such a cute look. They are a great way to add a pop of interest or change the look of any dress. And with a detachable apron it can be removed if desired. Think of all the possibilities. . . With a few detachable aprons you create almost endless options mixing and matching aprons with dresses.
This tutorial will teach you how to create an apron to attach to almost any dress with a waistband. Your little princess will love being able to create her own custom look.
Make sure you read all the way to the very end for a special 20% off coupon! And remember, you can click on any of the photos to enlarge.
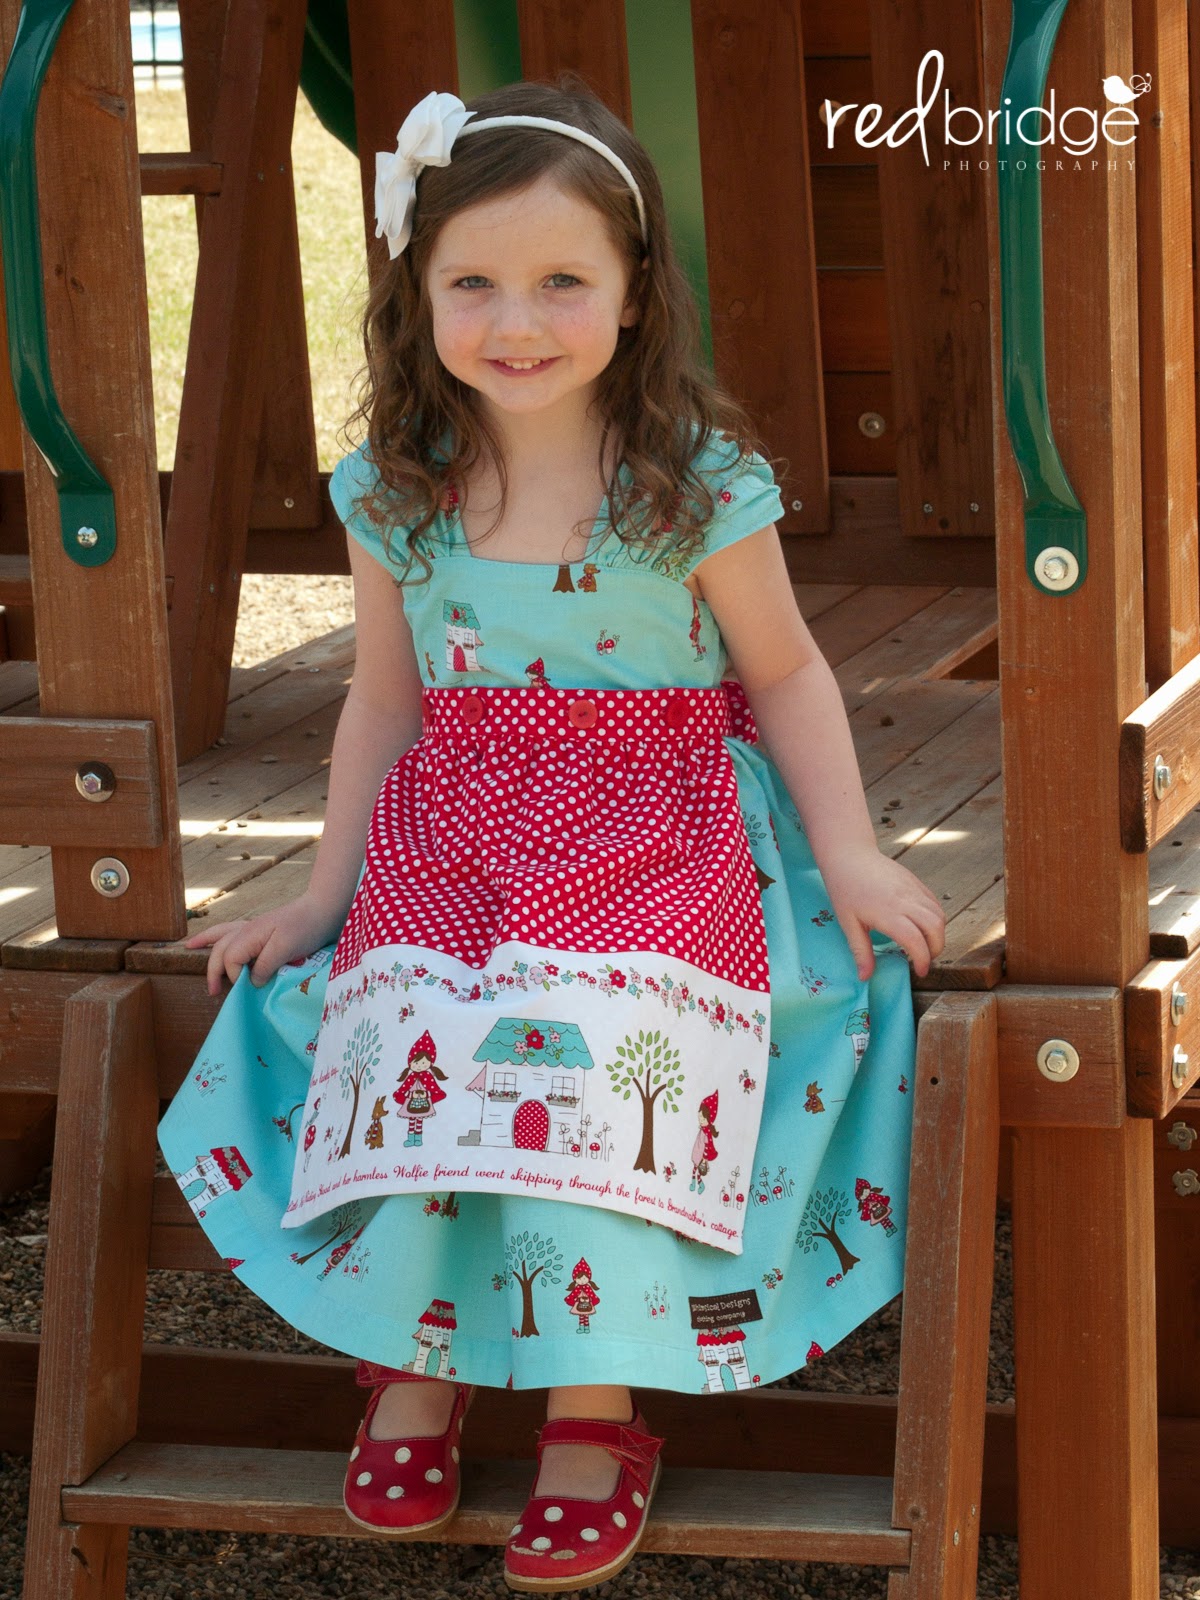
The first thing you will need to do is either create or find a dress with a waistband. In our sample we created the Macy Giggles dress by Izzy & Ivy Designs out of Riley Blake Little Red Riding Hood fabric. If you would like to create the Macy Giggles dress we have a super detailed step by step set of sew-along lessons you can follow here. We also have kits made up so all you need to do is pick your size, purchase coordinating thread and buttons, and your set to go!
In my dress above I made the skinny hem version of the Macy Giggles, like taught in the sew-along, but omitted the hemband and pockets.
Once you have your dress you will need to decide how large to make your apron. Below you will find a set of general measurements I use to cut my apron fabrics. For my Little Red apron I changed up the numbers a bit because of the higher waist on the Macy Giggles and the fact that I wanted the apron to showcase the whole Little Red border print story. I'll include exactly what I did to make my apron, which was created with a size 4t Macy Giggles in mind.
For the best results you will want to measure the finished waistline of the dress you are using and decide what width and length of sash will look best with the dress. You will also want to decide what width and length of apron panel will look best. Keep in mind that you will be gathering the apron panel at the waistline.
Supplies
- Front Apron Fabric
- Back Apron Fabric
- Sash Fabric
- Lightweight Fusible Interfacing
- Buttons
- Coordinating Thread
- Marking Pen or Chalk
General Apron Measurements
| Size | Apron Cut 1 from Front Fabric. Cut 1 from Back Fabric (width of apron x length of apron) |
Sash Cut 1 from Sash Fabric *See note below. (width of sash x length of sash) |
| 6-12M | 14" x 9" | 5.5" x 49" |
| 12-18M | 14.5" x 10" | 6" x 52" |
| 18-24M | 15" x 10.5" | 6" x 55" |
| 2t | 15.5" x 11.5" | 7" x 58" |
| 3t | 16.5" x 12.5" | 7" x 61" |
| 4t | 17.5" x 14" | 7.5" x 64" |
| 5 | 18.5" x 15" | 8" x 67" |
| 6 | 19.5" x 16" | 8" x 73" |
| 7 | 20.5" x 17" | 8.5" x 75" |
| 8 | 21.5" x 18" | 8.5" x 79" |
| 10 | 22.5" x 19" | 9" x 83" |
| 12 | 23.5" x 20 | 9" x 85" |
| 14 | 24.5" x 21" | 9" x 87" |
*Note: To save on fabric you can cut your sash from selvage to salvage (width) and seam it together. Keep in mind that if you divide your sash in half you will create a seam in the middle of the front. You probably don't want to do that. The best practice is to divide the sash into three pieces and have two seams. Keep the front sash piece long enough so the seams will fall at the sides of the dress. Don't forget to add in seam allowances for your spliced sash. The seam allowance will need to be doubled for the center sash piece since it will have seams on both ends.
Directions
1. Determine the size you desire for your apron and sash pieces and cut them out accordingly.
I gave you all those numbers above as a general guideline but I did change mine up for the Little Red apron. First, since the waistline is high on the Macy Giggles I feel the sash width looks better narrowed a bit. I wanted my finished width to be 1.25". I also wanted my sash to be a little longer for this dress. Finally, the words on the bottom of the border fabric I used have an 18" repeat. I wanted to make sure I got all of that on my apron. I also knew that I wanted to cut about 1.75" off the bottom of my border so I added that to the length of my apron front piece (not the back piece). I cut my apron and sash fabrics to the sizes listed below for my 4t dress.
Apron Front - 18.75"(w) x 15.75"(l)
Apron Back - 18.75"(w) x 14"(l)
Sash - 4.5"(w) x 78"(l)

I then trimmed off the 1.75" at the bottom of the border print so my apron front fabric and apron back fabric were exactly the same size.


3. If you did not cut your sash from one piece of fabric you will want to seam that together now. Make sure to press open your seams.
4. Take your sash and fold it in half matching up the ends to find the center. Mark the center.


6. Cut a piece of fusible interfacing. The width should be your sash width minus 2". The length should be the width you decided for your finished apron panel in step 2 above. My interfacing piece measured 2.5"(4.5"-2") x 11".

7. Iron your interfacing onto the wrong side of your sash centering it on the center mark. You should have about an inch of fabric on either side of your interfacing. My picture here shows too much fabric on the left. ;)

8. With right sides together and matching up fabric edges, fold and iron your sash lengthwise. If desired, cut your sash ends at a 45° angle.

9. Sew your sash using a 1" seam allowance. I know this sounds HUGE, but trust me, it's important so that we have a surface to attach the apron panel to. Leave an opening from about 1" before the interfacing to about 1" after the interfacing so you can turn your sash right side out and have a spot to insert your apron panel. Oops, I forgot to take a picture of this.
10. Trim your seam allowance on your sash everywhere except where you left it open and un-seamed in the middle. Don't forget to clip corners.

11. Turn your sash right sides out, push out points and corners, and iron well. Set aside.

12. With right sides together and using a ½" seam allowance, stitch the apron front to the apron back down along both sides and the bottom. Leave the top open for turning.

13. To achieve really nice corners you can try this trick.
When you reach a corner stop 1 stitch shy of the corner and leave your needle down in the fabric.

Lift your presser foot and rotate your fabric 45°. Now, using your handwheel, stitch 1 stitch across the corner.

Leaving your presser foot down again, rotate your fabric another
45° and stitch down the next side.

14. Once you have stitched up the three sides clip your corners, turn your apron panel right sides out, push out your corners, and press well.


15. We now need to create two rows of gathering stitches at the top of the apron panel. Set your stitch length to the longest length and sew two rows of stitches about ¼" apart. Try to keep them contained within ½" of the top edge.

16. Pull up your bobbin threads to gather your apron panel so that it fits on your sash between the two marks you created earlier.

17. Opening up your sash and folding out the bottom/back seam allowance, pin the apron panel to that bottom/back seam allowance. The right side of your apron panel should be facing up and the front of your sash should be opened up and out of your way. Note: Your interfacing should extend to both the front and back of your sash. I only have mine on the front in this picture. Your seam allowance will be longer than that pictured too. I was distracted by a little and trimmed mine by accident. Don't do that because it makes it very hard to work with.

18. Use about a ½" seam attach your apron panel to the sash. See why we used a 1" seam allowance on the sash? Because I accidentally trimmed mine to about ½" I had almost nothing to work with. :( Not good. Tim Gunn would be proud though because I "made it work!"

19. Fold the sash front down over the stitches.

I have a little cheat I like to use to hold my fabric down without pins. Just apply it to the seam allowance and iron. ;)


21. We now need to create some buttonholes on the sash. Determine how many buttons you would like to use and space them out evenly. I used 4 buttons for my 11" wide apron. Mark your buttonhole placements.

22. Stitch those buttonholes. This part always makes me nervous even though I've done buttonholes many, many times. Anyone else feel that way? I usually hold my breath.


23. Almost done! Once you have created your buttonholes go ahead and lay your apron on top of your dress and mark where to attach the buttons. I just use my marking chalk and draw right through the buttonholes. Now, attach those buttons. I'm not a huge fan of sewing on buttons by hand, so I use my machine. If you have a button foot you can use that. If not, you can just attach them like I do. I explain how at the end of our Exchange Dress sew-along located here.


Check out our website for kits to make both the Macy Giggles Dress and the Detachable Apron. You can see all of them here. Use the code TutorialTuesday to save 20% off the kits through Monday, 4/28/14.
Happy creating!
Danielle Storm
www.whimsicalfabric.com
No comments:
Post a Comment