
Hi everyone! I'm excited to be here doing this blog post for Whimsical Fabric. Let me introduce myself: I'm Linda Rose and I blog at Sew Happily Ever After. I have been sewing for about 8 years and love to sew pretty things for my four kids.

For this tutorial, I have taken the Oliver + S pattern, the Playtime Dress, Tunic, and Leggings, and turned it into a fun summer outfit. This was my first experience with an Oliver + S pattern, and I was super impressed with how quickly and easily it went together.
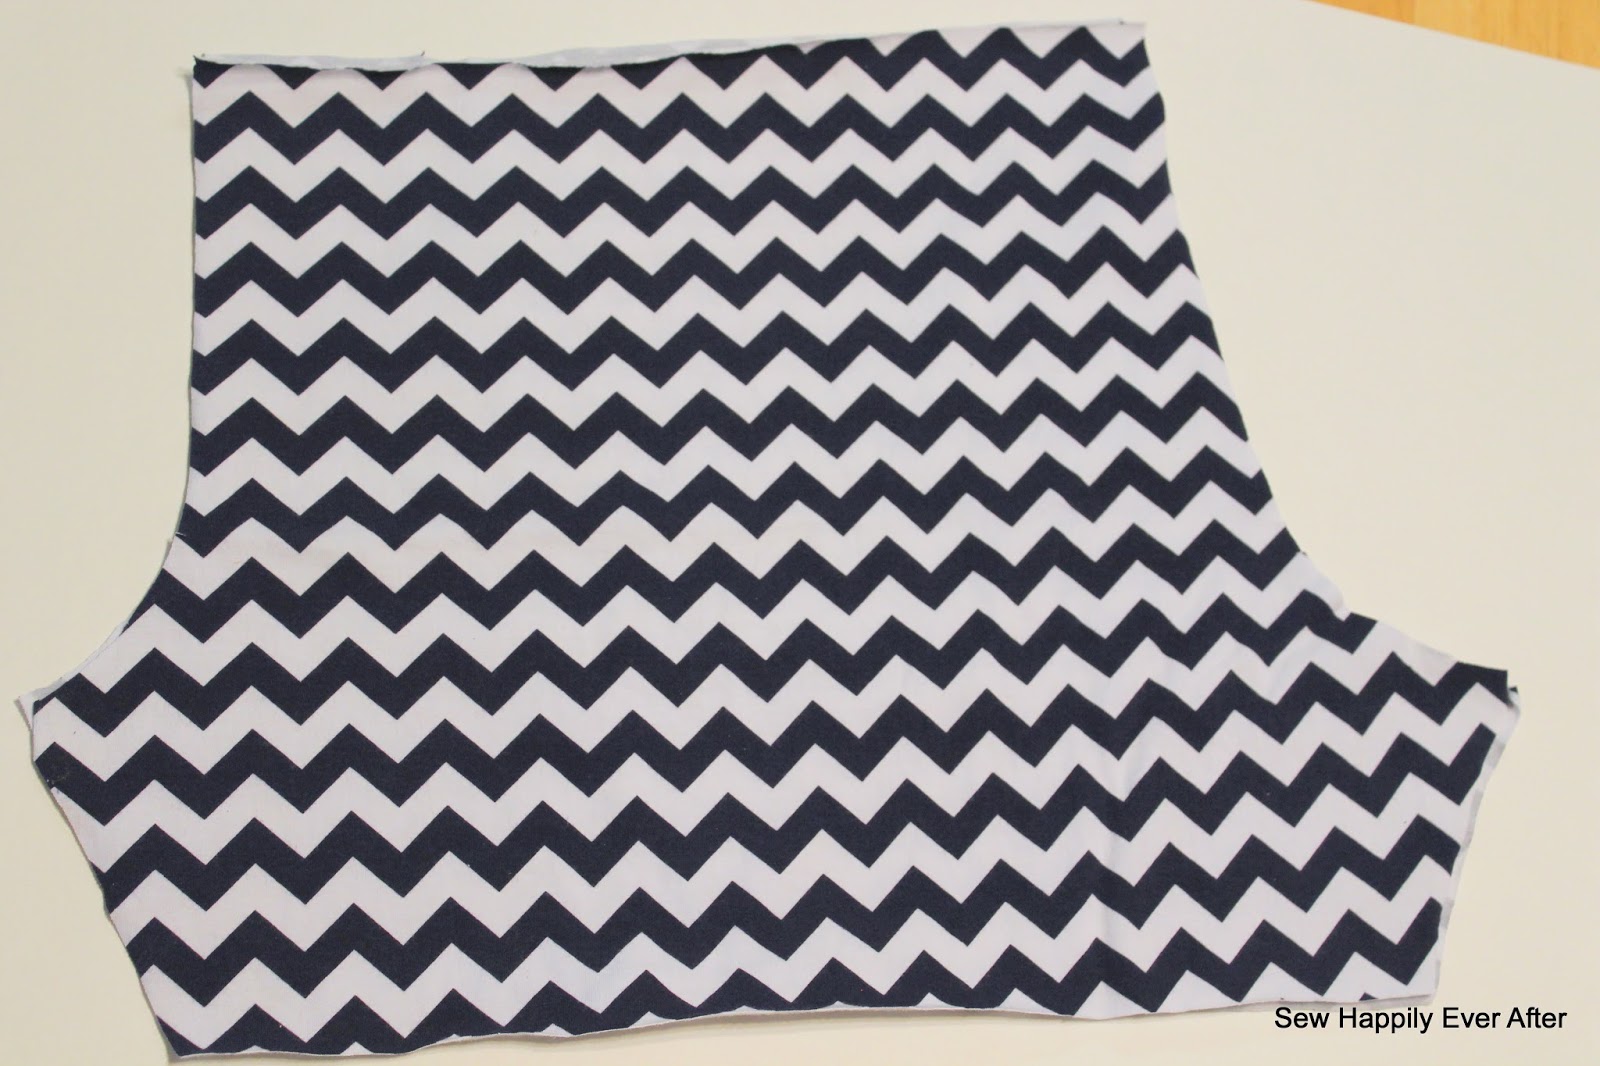
All of the fabrics and notions that I used to make this outfit are available to purchase at Whimsical Fabric. I used Riley Blake polka dot knit in navy for the tunic, solid red knit fabric for contrast on the neckline facings and pocket linings. Red Stitched buttons add the perfect pop of color in the back. The shorties were made using Riley Blake chevron knit also in navy.
All of the instructions and measurements listed for this outfit are for a size 7. You may need to make minor adjustments based on which size you are making for your child.
I hope you enjoy this tutorial!
Instructions to Make the Shorties:

• First
decide how long you want the inseam of the shorties to be. For my
daughter, I wanted the inseam to be 4" long before I added the ruffles,
so I measured down from the crotch point on each side 4" and chopped off
the bottom part of the leggings. I measured this on the pattern piece
and cut it off before cutting it out of fabric.
• You now need to cut some fabric for the ruffles. I cut 4 strips of fabric (2 for each leg) for the ruffles. Each one measured 2.5" tall by 28" long (the stretch should go along the 28" length).

• I also cut 2 spacer pieces. These should be as long as the bottom of the shorties that you have cut out, and about 1.5" tall. These spacer pieces allow your ruffles to lay nicely on top of each other in a layered manner.
• It will be much easier to hem your ruffles before gathering them. I used a rolled hem, but you can also make a narrow hem or even leave them un-hemmed. Since we are using knit fabric, it will not fray.
• Take one of the ruffle strips and gather it to match the width of one of the spacer strips. Stitch the gathered piece to the spacer strip right sides together and press the seam allowance towards the spacer strip.

• Now gather a second ruffle strip to match the width of the bottom of your shorties. Pin it in place for now, right sides together.


• Stitch all of the pieces together. You will be sewing through all 3 layers: the shorties, the first ruffle, and the second ruffle/spacer piece.
Press the seam allowance toward the shorties.

• You will need to repeat the above steps to make the second leg of the shorties.
• Follow the instructions in the pattern to finish sewing the leggings/shorties.

Instructions for Adjusting the Tunic:

• I also wanted the tunic length to be a bit shorter, so I cut 4.5" off the bottom of the tunic.
• Then I followed the instructions in the pattern to make the rest of the tunic.
• I used solid red knit fabric for the pocket linings and the neckline facings to add some contrast.

A perfect combo for a July 4th outfit!
I'd love it if you would visit me at Sew Happily Ever After!
The Challenge: 
1. Make a pair of ruffled shorties and tunic top from the Oliver+S Playtime Pattern.
2. Post a pic of your outfit in the Whimsical Fabric & Me Facebook group with the hashtags #oliverands , #whimsicalfabricdotcom , #playtimetutorialtuesday . Please consider posting it to other Facebook sewing groups, and Instagram too, if you have an account. :)
** Complete #1 and #2 by Sunday, July 26th, and you'll be entered to win a $10 gift certificate to our shop! Winner will be drawn on Monday, July 27th, 2015.
And a Coupon Code:
Save and additional 20% the regular price of the Oliver+S Playtime Pattern, all Knit Fabric, and all Riley Blake Buttons on our site with the coupon code TutorialTuesday now through Monday, July 20th.
Happy Creating!
Danielle Storm
www.whimsicalfabric.com
No comments:
Post a Comment