Showing posts with label Children's Dress. Show all posts

Tuesday, May 10, 2016

Sew Along #14 - Frannie Dress - Lesson #4

The Frannie Dress by Children's Corner

** If you would like to see an image on our blog in a larger format, just click on it to enlarge.

Note: Links to products within this post are either links to our website or affiliate links.

Please read the directions in your Frannie Dress pattern all the way through before you begin.  It's probably a good idea to read through this lesson once before you begin also.

Day 4 - Adding the Back Closure Button, Creating a Button Loop, and Closing Up the Lining.

1. If you have already added your button and an elastic loop to your dress go ahead and scroll all the way down to step 3 as you only have to close up the lining today and then you are finished.

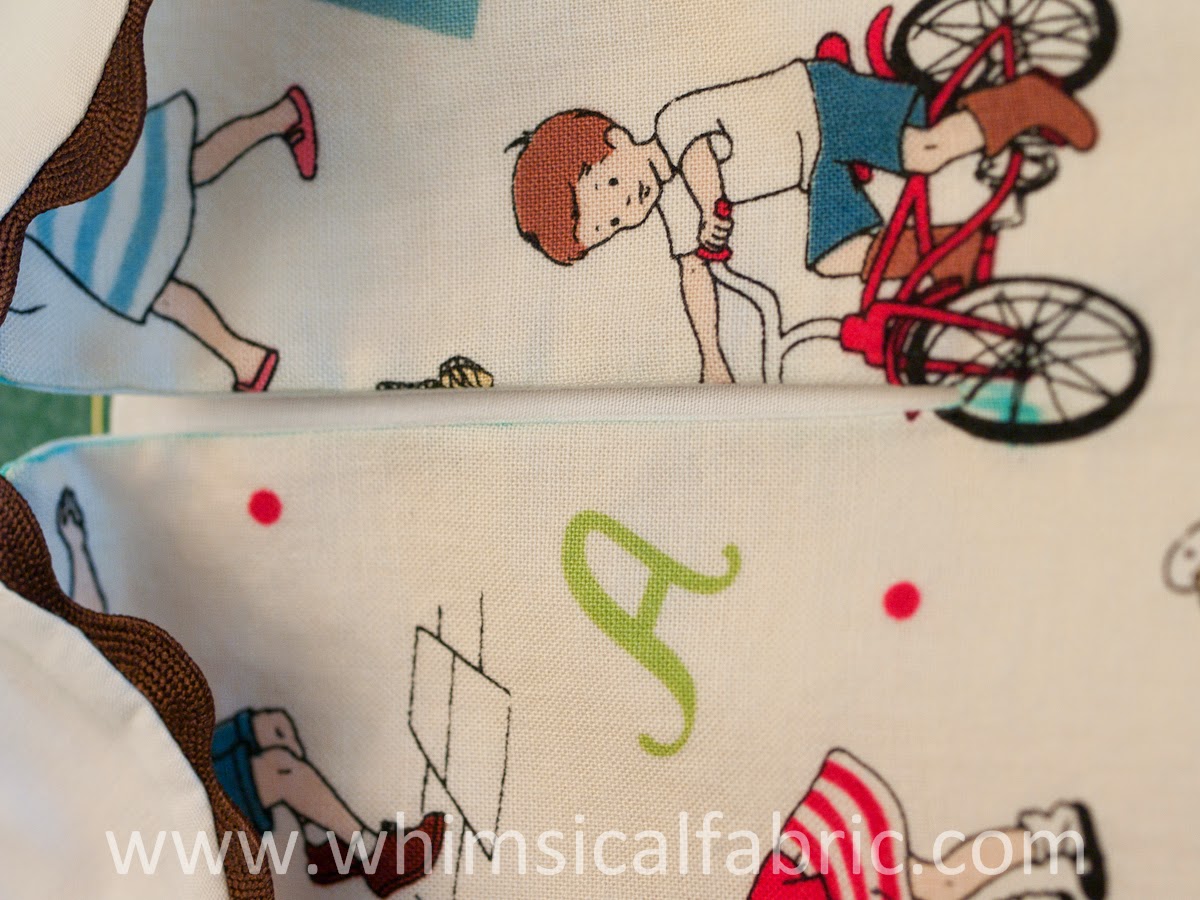
Sew a button onto the top of the back dress opening.  I sewed mine here on the left side, but convention is to sew it on the right side.  You can add more buttons to the back opening if you like.  Kits came with just one button, but the choice is totally up to you.

2. We are now going to sew a button loop for your back closure.  I'm first going to show you how I originally learned to sew these.  Then, I'm going to share a series of videos that show you what I feel is an easier way to make the button loop.  Do not fret if your button loop isn't perfect.  You will get better at this the more often you make them.  Let's jump in.
Note: It will probably be helpful to click on the pictures to be able to see the steps in more detail.
A. I used 4 LONG strands of sewing thread for my button loop.  Thread these on your needle and tie a knot in the end so you will be sewing with a total of 8 strands of thickness.  You can probably get by with as few as 2 strands (4 when doubled), but I like my loops strong.  If you are using embroidery floss you may get by with even less.

B. Go up through the hole in your lining and out the edge of your seam opposite your button.  You want to come out near the top of where your button is on the the other side.  Secure the knot on the inside between the dress and the lining. 

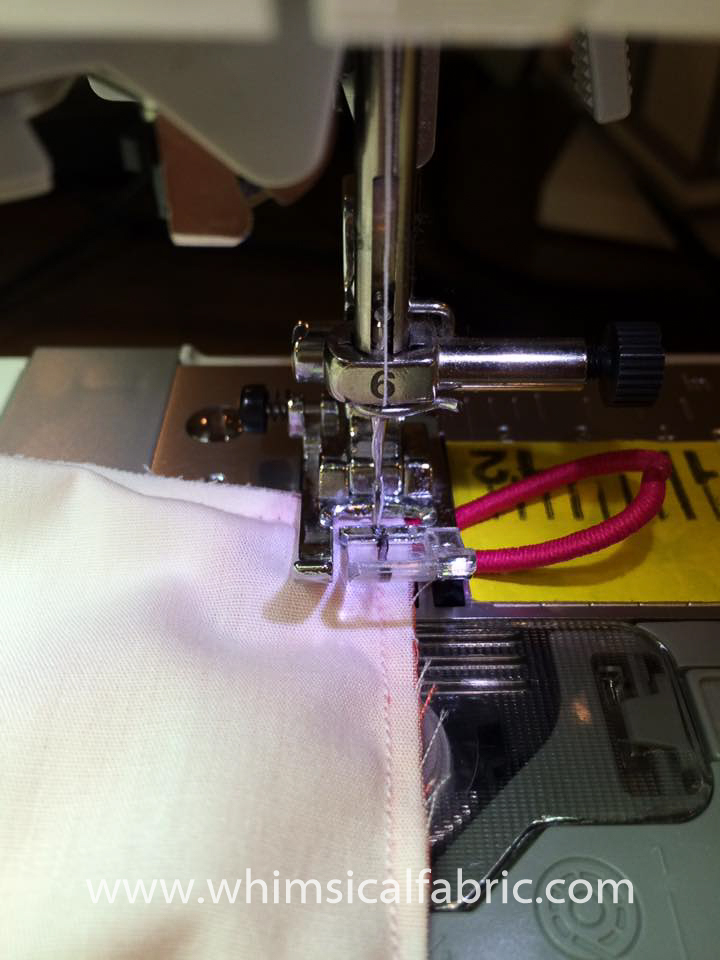
C. Measure about how long you want your button loop to be by wrapping it around your button.

D. Then, go back into the dress and out the original hole with your needle.

E. Pull your threads until the loop is the size you just measured and determined you desired.  You can try it on the button to make sure.

F. When you have the loop the size you want and all the threads are lined up together, wrap the loose thread around your index finger like shown below.

G. Now, poke the needle through your button loop from back to front.

H. Next, slide your needle under the thread on your finger.

I. Pull the thread. 

J. Keep pulling and slide the knot down to the base of your loop until it is tight.

K. It should look like this.

L. Repeat steps F thru J until you have covered the whole loop with your stitches. 

M. When you have your loop finished, push the needle back in between the dress and the lining and knot your threads.

Below are three videos that also explain how to accomplish the same task of creating a button loop, but in a little different way.  This is how I prefer to make them now as it is really quick.  The only suggestion I would make is to keep the thread tails after your knot longer.  They will be hidden inside the dress and the knot is more secure if they are longer.


3. The very last step for your dress is to close up your opening in the lining.  I like to use a ladder stitch as I feel it is strong enough and hides the hole well.  You can use whatever method you prefer.

That's it!  You just made a Children's Corner Frannie!  Wasn't that awesome!  Thank you so much for joining me.  It's been a total pleasure to teach one of my all time favorite patterns.


Our youngest, Miss Sydney, in her very first Frannie I made for her first birthday.

Miss Sydney in a Frannie at age 5.  Oh how fast they grow!
 

Miss Sydney today in a Frannie.

* If you would like to enter the prize drawing, please make sure you submit a picture of your completed lesson four to the Facebook Album by 12:00 noon CT, Thursday, May 12th. Also, if you have any questions the Facebook Group is a great place to ask.


Thanks for sewing with me,
Danielle Storm
www.whimsicalfabric.com

Monday, May 9, 2016

Sew Along #14 - Frannie Dress - Lesson #3

The Frannie Dress by Children's Corner

** If you would like to see an image on our blog in a larger format, just click on it to enlarge.

Note: Links to products within this post are either links to our website or affiliate links.

Please read the directions in your Frannie Dress pattern all the way through before you begin.  It's probably a good idea to read through this lesson once before you begin also.

Day 3 - Creating Underarm Casing & Ties, Adding Decorative Buttons, and Hemming.
1. Lay out your dress and pull the lining up through the neck opening.

2. We are going to create the casings for the underarm ties. Make sure to have your buttonholes marked.

3. Stitch the buttonholes.  Make sure you are only stitching through the dress.  Don't catch the lining in the buttonholes.  You will be creating four buttonholes total, two on each side. 

4. Carefully rip open your buttonholes.  I like to use a pin to keep me from ripping too far.

5. After you have sewn and ripped open all 4 buttonholes pull your lining back down.  Smooth out your lining and dress.  Match up the side seams of your lining and dress and pin together so nothing can slide around.

6. Start at one end and stitch along your top casing marking, through the side seam, and end on the other side.  Repeat for the bottom casing marking.  DO NOT stitch the casings closed at the ends yet!

7. Grab your four tie pieces.  Fold each tie in half lengthwise, with right sides together, lining up raw edges, and iron.

8. Using a ¼" seam allowance, stitch across one end and then down the length of each tie.  Trim off excess.

9. Turn each tie and then iron them flat.  I like to use a chopstick to press out my seam.

10. I also like to topstitch my ties.  I lengthen my stitch when I topstitch because I think it gives it a more professional look.

11. Use a safety pin or bodkin to thread your ties through the casings.  Place the pin (or bodkin) into the raw end of your tie.

12. Thread the tie through the buttonhole and up through the casing.

13. Keep going until you reach the end of the casing.

14. Smooth out your tie and make sure it isn't twisted in your casing.  Then, stitch across the ends.  I normally stitch, backstitch, then stitch again to make sure it is very secure.

15. Repeat for all four ties. 

16. Next we will be adding decorative buttons to the front of the dress. If you are not adding decorative buttons to the front of your dress go ahead and skip down to step #21. 

Lay out your dress and decide how many decorative buttons you want to use and where you want to place them.  If you don't have a fold line down the center anymore you can make one with your iron to help with placement.

17. Use a marking pen if you have one to mark your button placement.

18. Cut small squares of your fusible interfacing.  You need them just the size of your buttons.  Fuse those onto the back of your front dress fabric where you will be placing your buttons.

19. I used some Wonder Tape on the back of my buttons to stick them on my dress.  I just might have a slight addiction to the stuff!

 20.  Stitch your buttons in place.
Note: If you are adding a ruffle to the hem of your dress you will want to add the ruffle now.  Follow the pattern insert directions to create a ruffle band.  Then, with right sides together and matching the raw edges, pin the ruffle band onto the hem of your dress fabric only.  I always baste around the ruffle about ⅛" from the edge, just like you did with the collar.  This way you can remove all the pins and they won't be in your way while you hem the dress.
21. We are now going to hem the dress.  Grab the dress and the lining at the bottom of the side seam that you left the opening in.

22. With your other hand reach into the hole in the side of the lining.

23. Carefully push/pull the side seam bottom edge you are holding up through the lining opening.  Be careful not to twist the fabrics.  Once through, you will need to let go slightly so you can flip each over placing right sides together.

24. Pin.

25. Don't forget to offset the lining a ¼" so when you turn the dress the lining will not peek out the bottom.

26. Continue to pull the dress hem through the lining opening, pinning as you go, until you reach the other side seam.

27. Stitch hem using a ¼" seam allowance. Trim your seam.

28.Repeat for the second half of the hem making sure not to get a twist in your fabrics.

If you need additional help on hemming the dress you can watch this video from Children's Corner.  Lezette does it a bit differently than I do, but it's the same results.  Take a peek.

29. Push your dress back through the hole in the lining.  Smooth out your dress and press well.  If you offset your lining you should see your dress fabric pull slightly to the inside of your dress.

You made it through lesson three.  You're doing fantastic!  Just one more day left and your Frannie will be complete.  Make sure to check back here on tomorrow for lesson four. 

* If you would like to enter the prize drawing, please make sure you submit a picture of your completed lesson three to the Facebook Album by 12:00 noon CT, Wednesday, May 11th. Also, if you have any questions the Facebook Group is a great place to ask.

Thanks for sewing with me,
Danielle Storm
www.whimsicalfabric.com

Friday, May 6, 2016

Sew Along #14 - Frannie Dress - Lesson #2

The Frannie Dress by Children's Corner

** If you would like to see an image on our blog in a larger format, just click on it to enlarge.

Note: Links to products within this post are either links to our website or affiliate links.

Please read the directions in your Frannie Dress pattern all the way through before you begin.  It's probably a good idea to read through this lesson once before you begin also.

Day 2 -Stitching the Neck Opening, Adding Piping, Stitching the Armholes, and Side Seams.

1. If you washed the Wonder Tape or glue off your collars they should be dry by now.  Grab your collars and give them a good pressing.  Be careful though because ric-rac will melt with too hot of an iron.

Or, if you added piping you should be ready to go.


2. Lay your dress out like so.

3. With the top side up and the front edge of the collar (edge with the pin) lined up on the center front of your dress, match up raw edges of your collar and dress.  Pin into place.

4. Repeat for the other collar.

5. Using a long stitch length, baste the collars onto the dress.  I find it easiest to baste about ⅛" from the edge.  Excuse my crazy stitches below.  A little girl distracted me.  ;)

 6. With right sides together, lay your lining on top of your dress, sandwiching the collar in between.  Match up shoulder seams, center front, center back, and pin together.

7. Using a ¼" seam allowance stitch the dress, collar, and lining together around the neck opening.  When you arrive at the center back, with your needle down, stop at the line you drew for the back slit.  Raise your presser foot and pivot your fabric 45º.  Using your hand wheel, stitch one stitch ACROSS the corner.  Pivot another 45º so you are now heading down the angled line you drew for the back slit.  I always like to do one stitch ACROSS corners because it make the corner turn sharper and look better.

At this point it is a very good idea to decrease your stitch length.  We will be cutting the fabric very close to the stitches and decreasing your stitch length will help keep your fabric from pulling out.  I decreased mine from 2.5 down to 1.  

Now, stitch slowly and very carefully along the line you drew. 

8. When you are one stitch away from the bottom of the V stop with your needle down.  Pivot 90º.  Using your hand wheel, stitch one stitch ACROSS the bottom of the V.  Again with your needle down, pivot and head up the other side of the V.  When you reach the neck go ahead and increase your stitch length, stitch one stitch across the corner, and continue sewing around the neck opening.

9. Trim your seam.

10. Now for the scary part!  No, it's not really scary.  Well, just kinda.  Take a pair of sharp shears.  Make sure they are ones that you have very good control over.  Carefully cut down the center slit.  Cut all the way to the bottom stitch, being very careful not to cut any stitches.  The closer you get to the bottom stitch the cleaner your facing will look when you turn it.  But DO NOT clip any stitches or it will be a mess.  Make sure you have good lighting and you can see what you are doing well.  Go slowly.

11. Turn your dress right side out.  Press out the corners at the top of your back slit.  To get a good clean look to your back slit you will need to carefully tug down on your lining fabric at the base of the slit.  Iron the corners and the slit well.

Your back slit should look like this when you are done.  If you don't have a distinct V you might need to clip closer to that bottom stitch.  Just don't clip it.

12. If you will be adding a label to the inside of your dress now would be a good time to add it.  I pull my dress fabric away and sew it just to the inside of the lining.  BTW, Wonder Tape is great to keep labels from shifting while you stitch.  ;)

13. This is also the time to add your elastic loop for your back button. This part is optional. At the end of this lesson we do teach how to make a button loop with thread, so if you prefer that method go ahead and skip down to step #17.

Lay out the dress with the backside facing you. We are going to carefully tear out just a couple of stitches on the back opening. You want your elastic loop to be on the wearers left. Turn your dress inside out and very carefully rip out a few stitches, just enough so you can poke the hair tie between the lining and dress fabric, like so. Make sure the end with the glue joint is sticking out. That's a weak spot so we don't want to use it.

14. Stitch back and forth a few times right over the original stitch lines securing the elastic in place. Cut off the excess elastic (but not too close).

15. When you turn your dress right side out it should look something like this.

16. Go ahead and add your button on the other side, pulling your lining away so your stitches do not show on the inside of the dress. You might want to add a little piece of fusible interfacing behind your button and before you begin stitching to give your fabric and button a bit more stability.

17. If you will be adding piping to your armscye now is the time. First though we want to trim the cording out of the what will be the seams. This allows the seams to lay flat when we sew them. Grab your piping and clip the end of nice and straight. 

18. Next, open up your piping to expose the cording.
Ignore my horrible looking nails. My manicure was over 2 weeks old here.
19.
Trim out about ¼" of cording. We will do the other end after we have sewn the piping to the dress.

20. Just as we did for the collar, lay your piping with raw edges lined up on top of the armscye of your dress fabric.

21. Baste the piping onto the dress using a piping/zipper foot.Don't forget to trim the cording out of the seam allowance on the other end of the piping now.
 22. Lay out your dress like this again.

23. Grab the right edge of the dress fabric and pull it over the dress front and collar, towards the left side.  Reach under the dress and grab the right edge of the lining and pull it under the dress and collar towards the left side. 

24. Matching up shoulder seams, pin the dress armhole edge to the lining armhole edge right sides together.

25. When pinning you want to slide the lining so that it is poking out an ⅛" from the dress.  You might remember that we did this with the Exchange Dress.  If you are not using piping or trim on the seams this will ensure that the lining does not show when turned. NOTE: If you are using piping don't slide the lining out. Just make sure the raw edges are lined up with the piping sandwiched in between.

26. Keep pinning the entire armhole.  You will need to tuck the collar/neck opening and left armhole fabric in between what you are pinning.  Just scrunch it up good and pin away.

27. Using a ¼" seam allowance stitch the armhole edges.  Trim your seam allowance and clip your curves. If you added piping to the seams here you will need to stitch with a piping/zipper foot. Increase the presser foot pressure and go slow.

28. After sewing your armhole seams your dress will be all bunched up between the armhole and the neck opening. 

29. To turn your dress you will need to reach between the dress and lining and start pulling the dress through the shoulder area.


Keep pulling and pulling until you pull the dress free.
 

30. Repeat for the other armhole.

If you are still not sure how to sew these armholes you might want to take a peek at the Children's Corner video tutorial.  It can be a great help!

31. Press the armholes seams well.  If you had your lining poking slightly out past your dress material when you stitched, you will see how the dress material is ever so slightly pulled to the inside of the dress.  This ensures that the lining will not show when the dress is worn.

32. Lay out your dress again.

33. Grab your dress front and back and lift up and over the dress, exposing the lining below.

34. With the right sides together and dress fabric matched up with dress fabric, lining fabric matched up with lining fabric, and the underarm seams lined up, pin together both sides of dress and lining.  Note: With piping, you want the piping to be laying towards the lining  This helps it stick up above the main dress once its turned right side out.

35. Stitch side seams together using a ¼" seam allowance.  Don't forget to leave a 5-6" opening in one of your side seams!

That's it.  You are all done for today.  Congratulations!  Check back here tomorrow for lesson three. 

* If you would like to enter the prize drawing, please make sure you submit a picture of your completed lesson two to the Facebook Album by 12:00 noon CT, Tuesday, May 10th. Also, if you have any questions the Facebook Group is a great place to ask.

Thanks for sewing with me,
Danielle Storm