
Alyssa of Keep Calm and Carrion brings us our May Tutorial Tuesday

For this month's tutorial I am going to teach to to make Whimsical Wraps!
This tutorial is super fast, and since it's May, I'm making mine in adult size for myself for Mother's Day, but I'll give you the measurements that worked for the kiddos as well. Since they stretch, the sizes are pretty flexible!

Whimsical Wraps - catchy name right? There are two different versions, that will give you slightly different final looks - The single twist and the double twist.
The single twist will result in you seeing half of each fabric while worn.
The double twist will result in you only seeing the second fabric in the twist, and you'll have a reversible headband with a different focus fabric on each side.
Here's what you'll need:
* 2 coordinating knit fabrics
you want good stretch and recovery - so check out our Knits Section for some great cotton/spandex knits that will work perfectly.
* Sewing machine
* hand sewing needle
* coordinating thread
* cutting mat, ruler and rotary cutter or scissors
This tutorial uses a 3/8" seam allowance.
1. From each of your two knits cut the following:
Adult headband: 18" x 4" (greatest stretch needs to go along the 18" side)
Child headband: 16" x 3.5" (greatest stretch needs to go along the 16" side)

2. Place the strips right sides together and sew along both long edges.
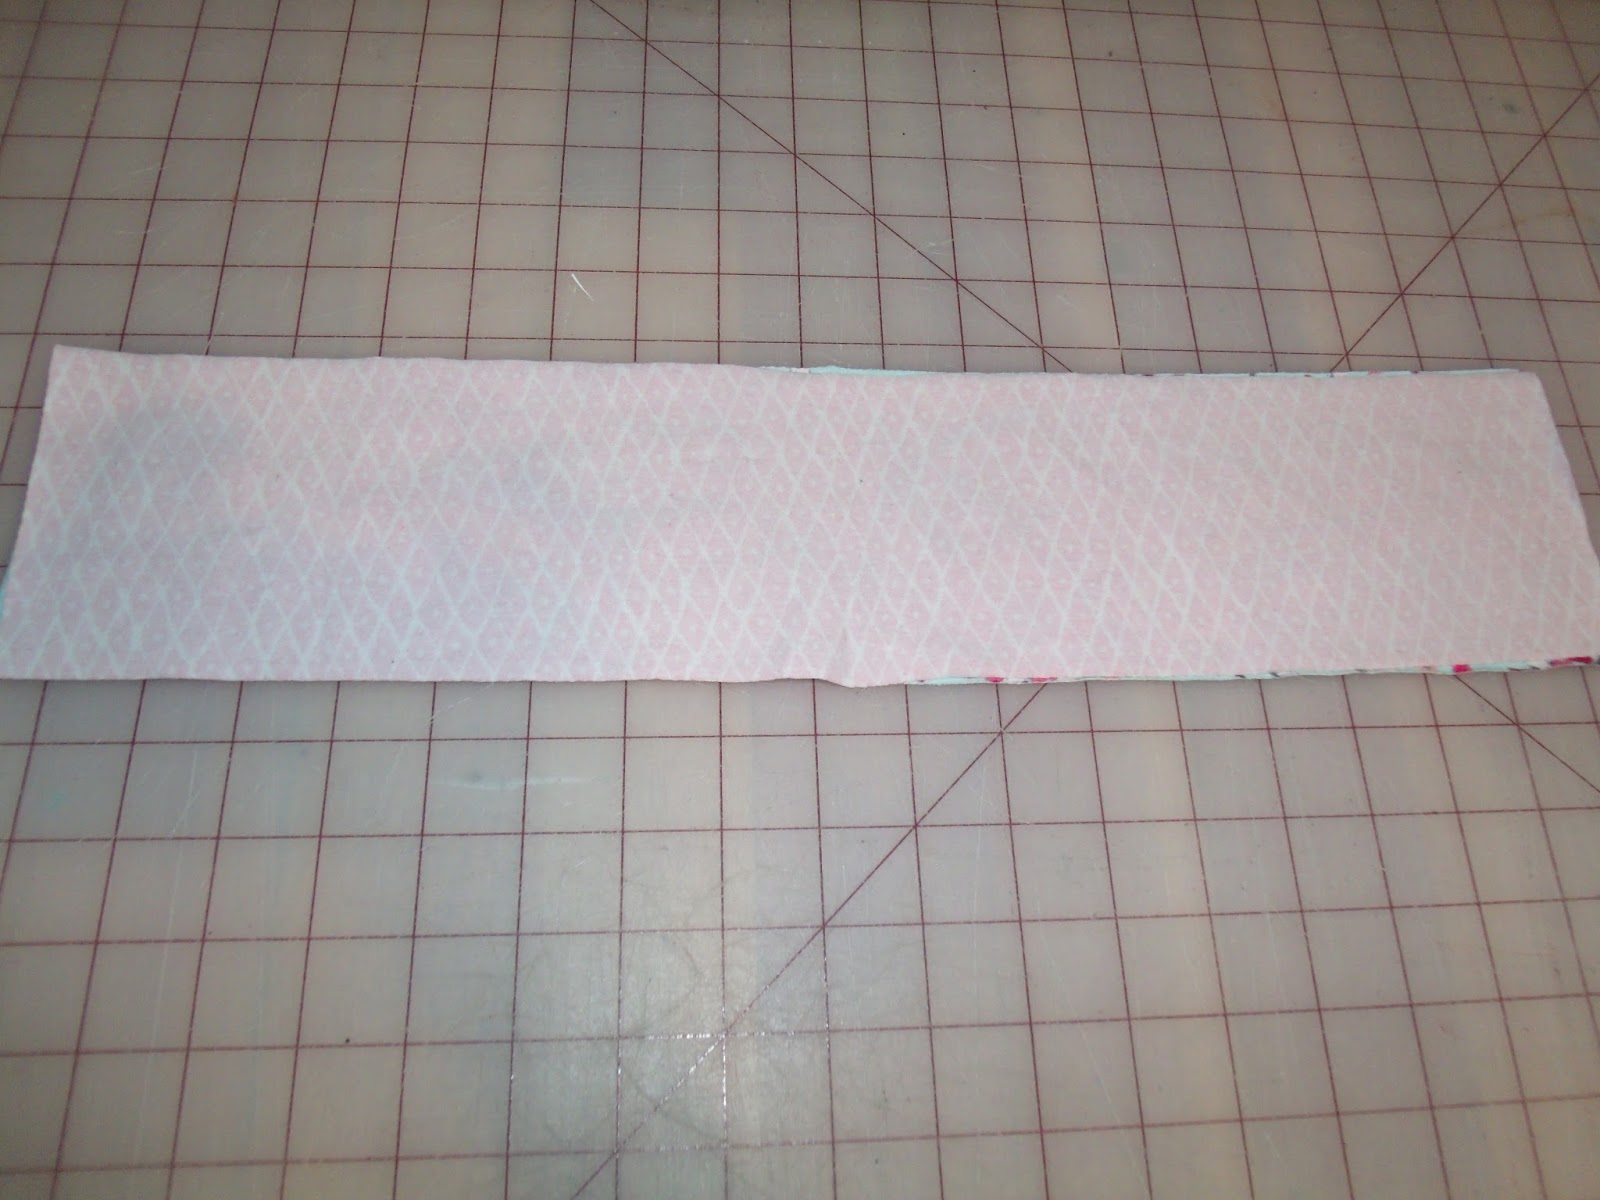
3. Turn right side out and press well along long seams.

4. For the one twist version continue here, for the double twist, skip to step 12. Take your pressed tube, and flip it once at the middle.

5. Now take the raw edges and bring them together, keeping the twist in place. You'll want to line up the seams, and you'll have opposite fabrics together.


6. This next part is a little bit awkward, and I find it easier to do on my sewing machine, not my serger, so I have the seam allowance left over to tuck for the hand sewing portion. Here is what you're going to to. Making sure you only grab two layers at once, position them under your presser foot. Using a stretch or zig-zag stitch, sew starting at one seam all the way around as far as you can go. Eventually, the headband will get in your way, and you'll have to stop. You'll end up with a gap of about 1" to 1 1/2" left.
 |
| eek! I lost a Jamberry! |
7. Now tuck the seam into the headband and this is what it should look like.

8. Now we are going to hand stitch this gap closed using a ladder stitch.

9. Start under the seam on one side of the headband and bring your needle out about 1/8" forward.

10. Now bring your needle through the other fabric and come out another 1/8" forward. Repeat until the entire gap is closed. Tie off your thread and tuck the knot in and snip the tails.

11. Now press this seam well, flip the headband over and press the twist well, and this version is done!

12. Continue here from step 4 for the double twist version. Take your headband and flip over at the middle. Then flip over at the middle again, so that there is a twist in the middle, but the same fabric is showing at both ends.

13. Now line up the seams again and this time when you bring the raw edges together, the same fabrics should be facing each other.

14. Now follow steps 6 through step 11 to complete this version.


I love them and wear one pretty much every day - and I love that they don't use a lot of fabric and are fun to mix colors with! I hope you enjoy this tutorial and please head over to the Facebook Group to show off what you make!
~Alyss
Keep Calm and Carrion
Super cute! Now I know what to do with some of my scraps! ;)
ReplyDelete