
** If you would like to see an image on our blog in a larger format, just click on it to enlarge.
Note: Links to products within this post are either links to our website or affiliate links.
You can find the Oliver + S Sailboat pattern in the shop. Kits are available as well. Click on the links below:
Welcome to Day 7
Before we begin with today's lesson be sure to read all of the patterns instructions. Today, and throughout the entire sew along, you will need your pattern in hand to go along with each lesson. Some things
I will share/teach will not be in the pattern. but are some tricks and
tips I have learned over the years from sewing this pattern.
Today we will be starting our skirts. Some of the methods I will be using are not in the pattern, such as the lining and some of the finishing techniques so if you have any questions along the way please don't hesitate to ask. Ready? Let's start!

1. Take two of your front side panels and fuse the interfacing onto the wrong side. If you are using a heavier fabric be sure to trim a 1/2" all the way around on your interfacing pieces. For light weight fabric I prefer to leave it the same size. (That's just my preference though.) Now transfer your pattern markings onto your fabric pieces. The button placement onto the front and the dot for pivoting onto the back side.

2. Place your mirrored image front side panel with right sides facing to the interfaced piece. Pin and stitch the curved side and top side only leaving the side open.

3. Trim your seam allowance and clip the corner, turn and press. Top stitch on the sewn edges only. Repeat with second front side panel.

4. Add interfacing to your front facing; transfer your pattern markings onto the wrong side.

5. Finish the bottom curved raw edge, being careful not to trim any of the fabric away.

6. Transfer the pattern markings for the buttonholes onto the front side of the skirt.

7. If you are lining your skirt, place the skirt lining and skirt front together with wrong sides facing. Baste the two pieces together all the way around. You will treat the lining and front as one piece.

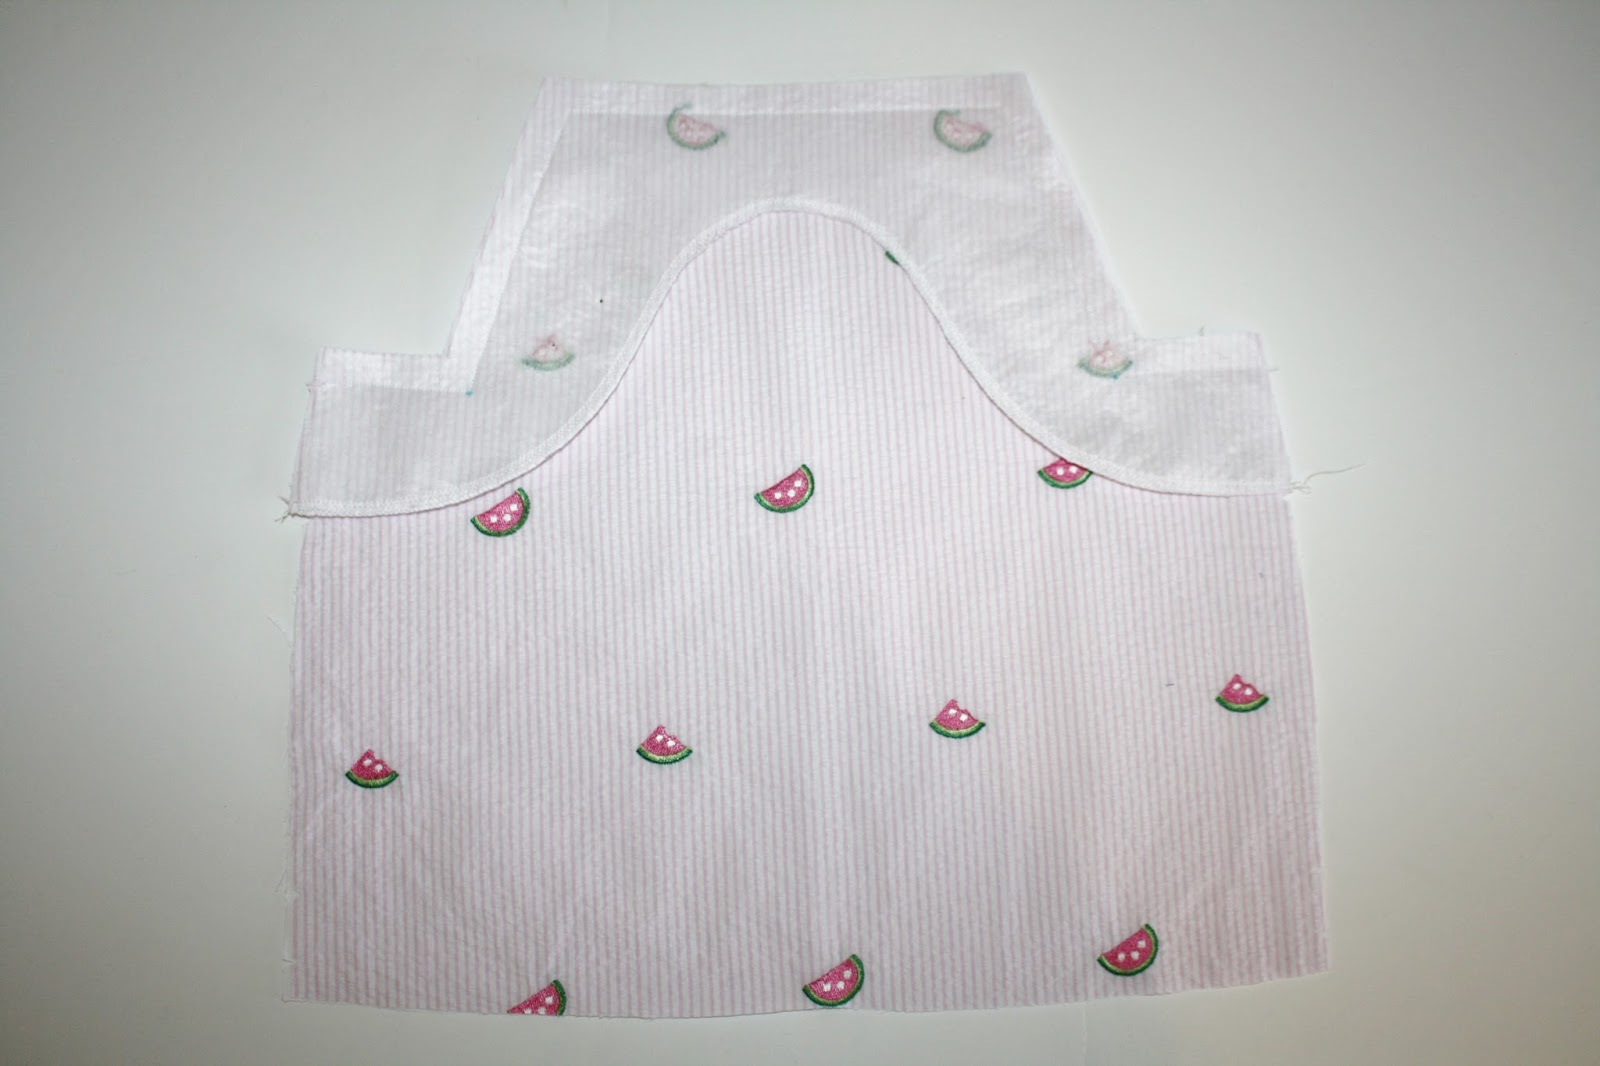
8. Now take your front facing piece and place it over the skirt front with the right sides together, pin along the top edge.

9. Stitch around, trim your seam, and clip the corners. Turn and press well.

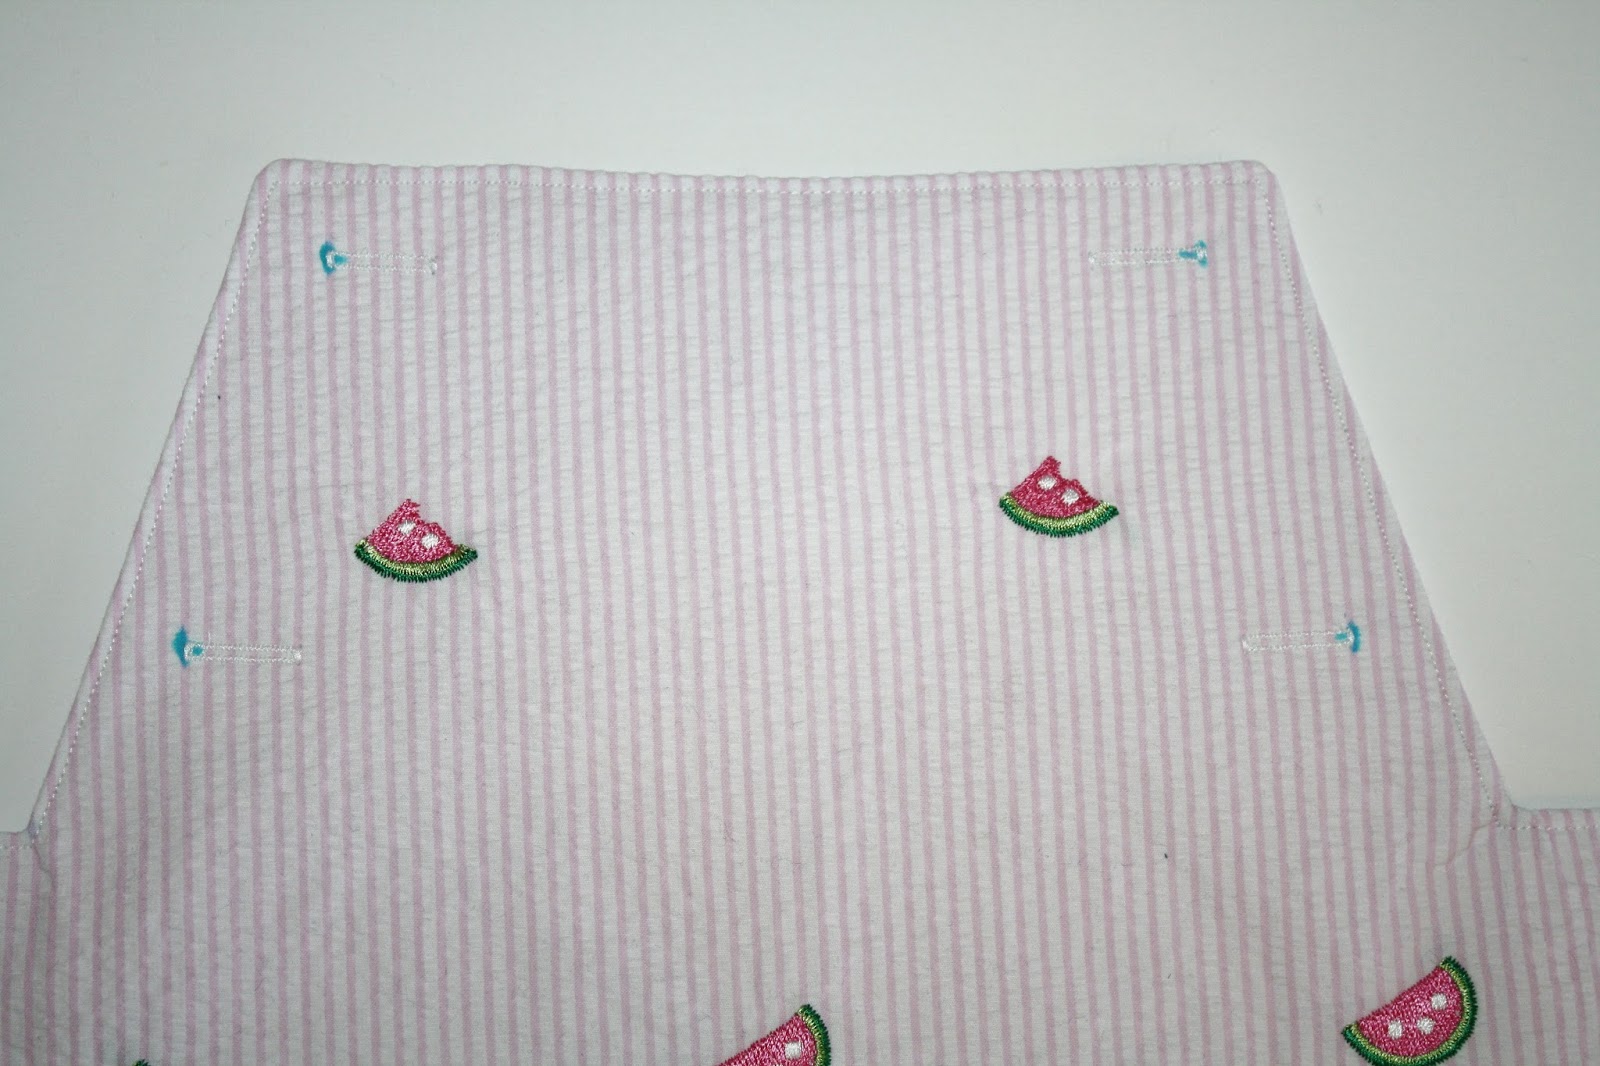
10. Top stitch the sewn area with a 1/8" seam.

11. Stitch your buttonholes in the marked areas.
Front view.

Back view.

12. Take your front side panels and match the notch on the panel to the top side of the skirt, pin in place.

13. Baste the side front panel in place on each side, with a 1/3" seam allowance.

I will see you lovely ladies back here tomorrow as we continue our skirts!
Today we will be starting our skirts. Some of the methods I will be using are not in the pattern, such as the lining and some of the finishing techniques so if you have any questions along the way please don't hesitate to ask. Ready? Let's start!

1. Take two of your front side panels and fuse the interfacing onto the wrong side. If you are using a heavier fabric be sure to trim a 1/2" all the way around on your interfacing pieces. For light weight fabric I prefer to leave it the same size. (That's just my preference though.) Now transfer your pattern markings onto your fabric pieces. The button placement onto the front and the dot for pivoting onto the back side.

2. Place your mirrored image front side panel with right sides facing to the interfaced piece. Pin and stitch the curved side and top side only leaving the side open.

3. Trim your seam allowance and clip the corner, turn and press. Top stitch on the sewn edges only. Repeat with second front side panel.

4. Add interfacing to your front facing; transfer your pattern markings onto the wrong side.

5. Finish the bottom curved raw edge, being careful not to trim any of the fabric away.

6. Transfer the pattern markings for the buttonholes onto the front side of the skirt.

7. If you are lining your skirt, place the skirt lining and skirt front together with wrong sides facing. Baste the two pieces together all the way around. You will treat the lining and front as one piece.

8. Now take your front facing piece and place it over the skirt front with the right sides together, pin along the top edge.

9. Stitch around, trim your seam, and clip the corners. Turn and press well.
10. Top stitch the sewn area with a 1/8" seam.

11. Stitch your buttonholes in the marked areas.
Front view.
Back view.

12. Take your front side panels and match the notch on the panel to the top side of the skirt, pin in place.

13. Baste the side front panel in place on each side, with a 1/3" seam allowance.

I will see you lovely ladies back here tomorrow as we continue our skirts!
Happy sewing,
Sharon
*If you would like to earn entries into the prize drawing, please make sure to submit a photo of your completed Lesson Seven to this Facebook Album by 12:00 noon CT, Friday, September 9th. If you have any questions the Facebook Group is a great place to ask.
No comments:
Post a Comment