

Hello! I’m Steph and I am the designer behind The Eli Monster. The purpose (for me at least) of sewing clothing for myself and my children is to get a better fit and a better quality garment than I can buy in the store.
Today I’m including a few tips to transform that “homemade” outfit into “HANDMADE.” Ooooh, see what I did there? Calling it “handmade” makes it fancy!
1. FUSSY CUT
What’s fussy cut, you ask? It’s cutting your fabric so an element is highlighted and/or centered on your pattern piece. You may need to buy a bit of extra fabric in order to get everything situated exactly where you need it.
If you are limited on fabric or just don’t want to buy a lot extra and have a ton of scraps, pick the most important pieces to fussy cut and focus on those. For this example, I only had ¾ of a yard of the most gorgeous Vintage Market Bike Ride fabric and had to make the choice to fussy cut the front or the back yoke. The obvious choice it the front since I wanted a bike front and center of her top. It took adjusting my pattern piece about an inch to the left but the top looks a thousand times better than it would if that bike was not centered.
 |
| Center an important part of the design on your piece. This yoke is front and center so I made sure a bike was right in the middle. |
 |
| This piece is NOT fussy cut. But it's the back piece and not as important as the front yoke. |
Under-stitching is simply pressing your seam allowance towards your lining piece and sewing it to the lining just next to the actual seam. When your project is turned and pressed, everything wants to roll in ever so slightly towards the inside so your lining doesn’t peek out. It eliminates the need to top-stitch certain areas, making the finished dress or top or whatnot look much cleaner and more finished (because haven’t we all made a great bodice only to mess up the top-stitching somehow?). Here is a link to a great tutorial on under-stitching.
 |
| Look how nicely the main fabric rolls a teeny bit to the inside. |
3. HEM FACINGS
My most favorite detail to add to almost every item I make is a hem facing. It gives a totally flat hem and the appearance of a really deep hem (heirloom dresses generally have a 3” or larger hem). But since making a 3” deep hem on a curved hemline would create the biggest mess around, we use hem facings. Oliver+S has a great tutorial on their blog regarding how to sew hem facings. Check it out here.
 |
| Even
though this top probably did not need a hem facing, I used a shorter facing for a special secret pop of color that only Girly and I know about. |
4. COVERED SNAPS
My
last tip is probably a cheater tip. Because sometimes I get so excited
about having the finished garment that I don’t want to take the time to
make buttonholes and sew on buttons. Especially for a top like this
with what seems like a gazillion buttons I would have to
sew on. So I cheat and use poly snaps that I have left over from my
diaper making days. Poly snaps don’t have that je ne sais quoi that
really nice covered buttons have. It takes a little bit of effort but
you can finish SO MUCH FASTER than buttons (if buttons aren’t your
thing-I would rather sew a thousand zippers than make enough buttonholes
for a shirt for Girly).
 |
| Glue your snap to a small circle of fabric. Stitch a couple of running stitches around the snap. Pull the thread and tie. Apply snap as usual. |

With a few of these tips, you can really level up on your finish of your next garment.


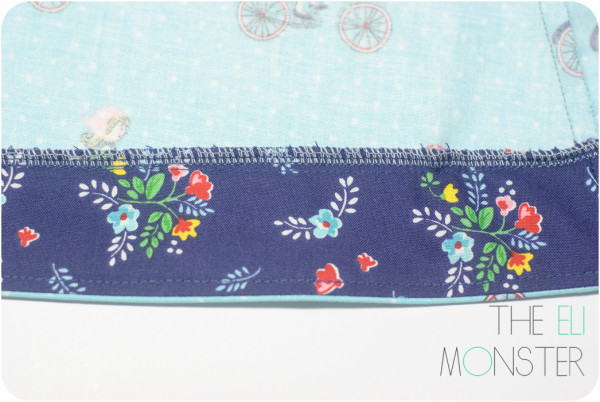
I paired Girly's new top with some bubble shorts made from more of the über adorable Vintage Market fabric. I decided to go a bit crazy and added a bit of white Ric-Rac just under the yoke. It really dressed it up a bit!

Happy Creating!
Danielle Storm
www.whimsicalfabric.com
very useful tricks... thank you for sharing!
ReplyDelete