
The Playtime Dress/Tunic & Leggings by Oliver+S
** If you would like to see an image on our blog in a larger format, just click on it to enlarge.
Note: Links to products within this post are either links to our website or affiliate links.
Before we begin with today's lesson be sure to read all of the patterns instructions. Today, and throughout the entire sew along, you will need your pattern in hand to go along with each lesson.
Welcome to Day 3
Today we will be finishing up the tunic/dress.
*Note: The tunic/dress is sewn with a 1/2" seam allowance*

1. Take one set of your pockets and add the interfacing that we cut from day #1 and fuse it to the straight edge of the both pockets on the wrong side. These will be our front pockets.

2. Now with the right sides together, we will match the dots on our pockets to the dots on one of the skirt sides and pin in place.

3. Stitch in place using a 3/8" seam. I used my serger to sew my pockets on; if you do, be careful as not to trim any of the skirt or pocket. Press your pocket outward from the skirt with the seam facing outward. Repeat with the other front skirt pocket and then for the two pocket pieces on the back skirt.

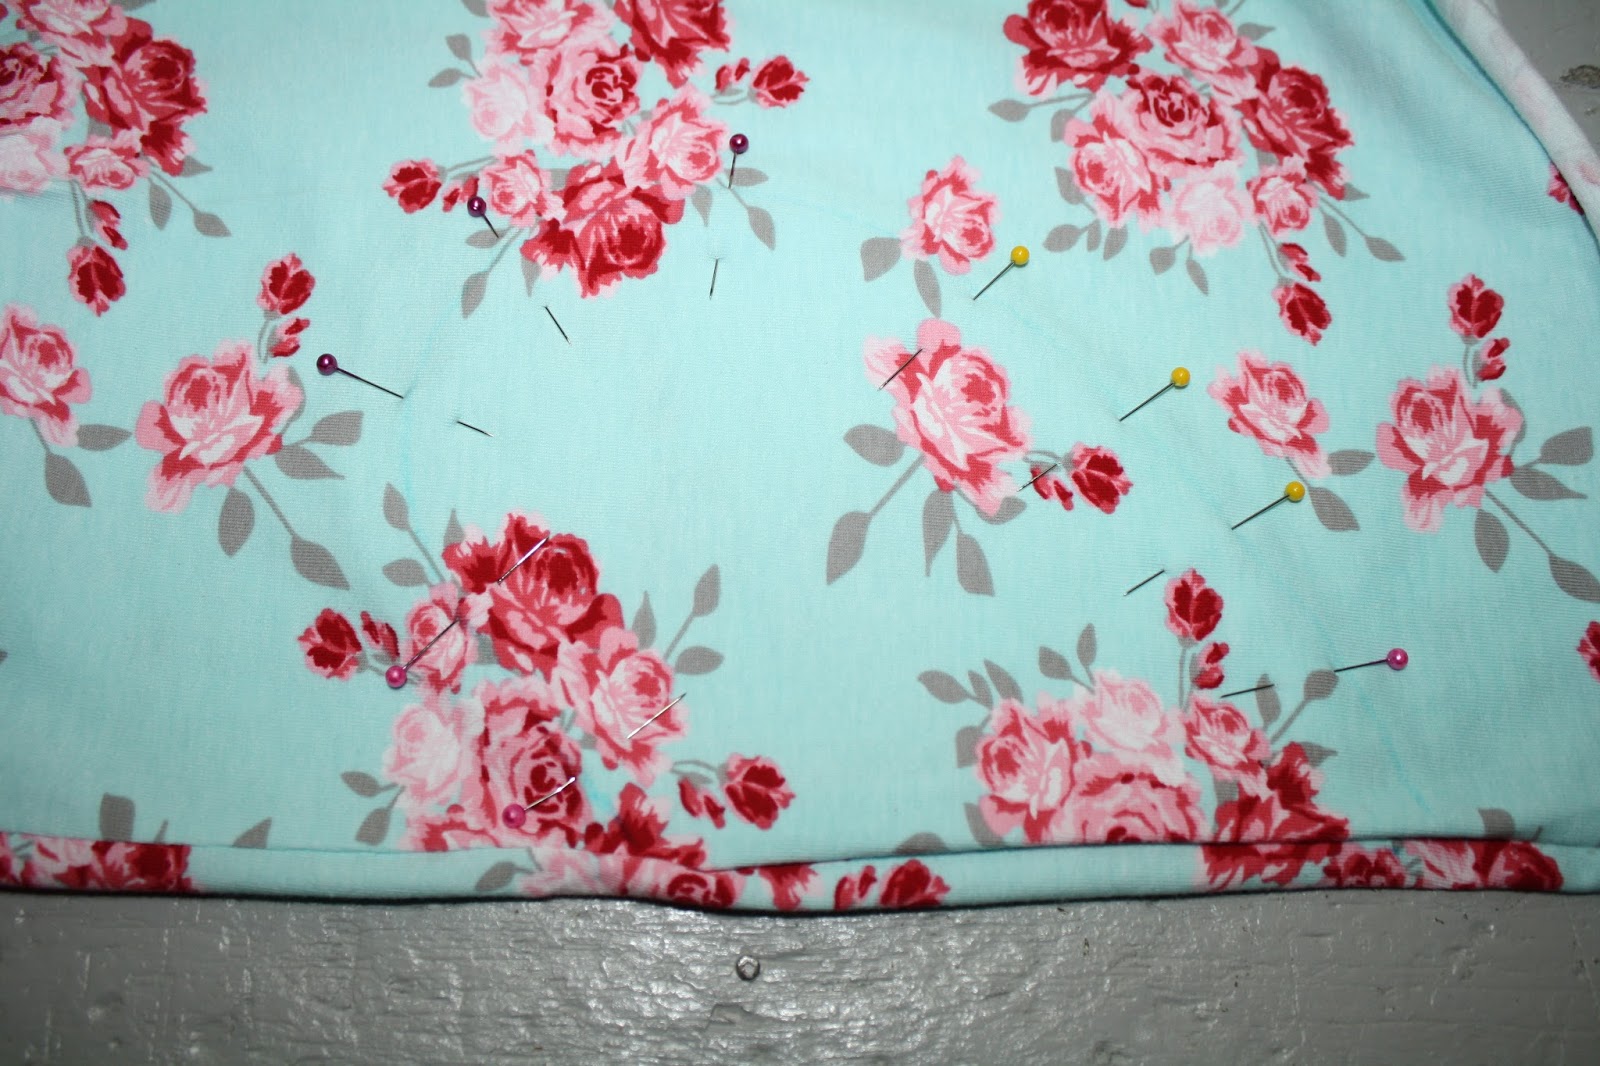
4. Place your skirt back and front with right sides facing and lining up the pockets. Pin all the raw edges together, including the pockets raw edges.

5. Now we will stitch the skirt side together. I used my sewing machine for this portion. Stitch down the skirt sides starting at the top, then around the pockets edge, then down the remainder of the skirt, pivoting at the dots you made on the pockets.

6. After you stitch with your sewing machine, finish your edges. I used my serger to finish the edges up neatly, but a zig-zag stitch would work as well. Do not trim your seam here. Repeat on the second side of the skirt.

Press the seam and pocket towards the front skirt.

7. Take your front skirt and lay it on your table with the front skirt facing up, smooth the pocket and skirt over together. Next take your pocket top stitch template and trace it onto the skirt with a fabric marker, right over where the pocket is. The pocket template is smaller than the pocket itself so be sure to place it right over the center of the pocket. This ensure that when we top stitch it will catch all the layers.

8. Pin your pocket onto the front skirt through both pocket layers and the front skirt only.
9. Stitch along the template line you drew, through all the layers you just pinned in place. Repeat with second pocket.

10. Next, I like to hem my skirt before I sew it onto the bodice. I find it easier to do so at this point. Press your skirt bottom up a 1/2" then again another 1". (Hemming is the same for both tunic and dress skirts). Stitch at the inner most fold.

11. Now sew two rows of gathering stitches on top of the skirt's raw edges. Turn skirt inside out and bodice right side out.

12. Place the bodice inside the skirt, being sure to place your bodice front to your skirt front. Next, match up your side seams and center notches, and pin them together. Now gather your skirts evenly and pin in place. Stitch the skirt in place with your sewing machine first, then finish your edges. Press your seam up towards the bodice.

13. We are almost done with our tunics/dresses!! It is time to cut open our buttonholes, I like to put a straight pin at the end of my buttonhole, right before the end bar tack. This way, when I cut my buttonhole open, I do not go through my stitches. Repeat with the remaining two buttonholes.

Then mark where your buttons go on the opposite side of the back bodice and sew them in place.

Tomorrow we will sew up our leggings. This is my favorite legging pattern so I am sure, after tomorrow, if you have never sewn these up before, that you will want to sew up many more!
Happy sewing,
Sharon www.whimsicalfabric.com
*If you would like to earn entries into the prize drawing, please make sure to submit a photo of your completed Lesson Three to this Facebook Album by 12:00 noon CT, Wednesday, January 27th. If you have any questions the Facebook Group is a great place to ask.
No comments:
Post a Comment