
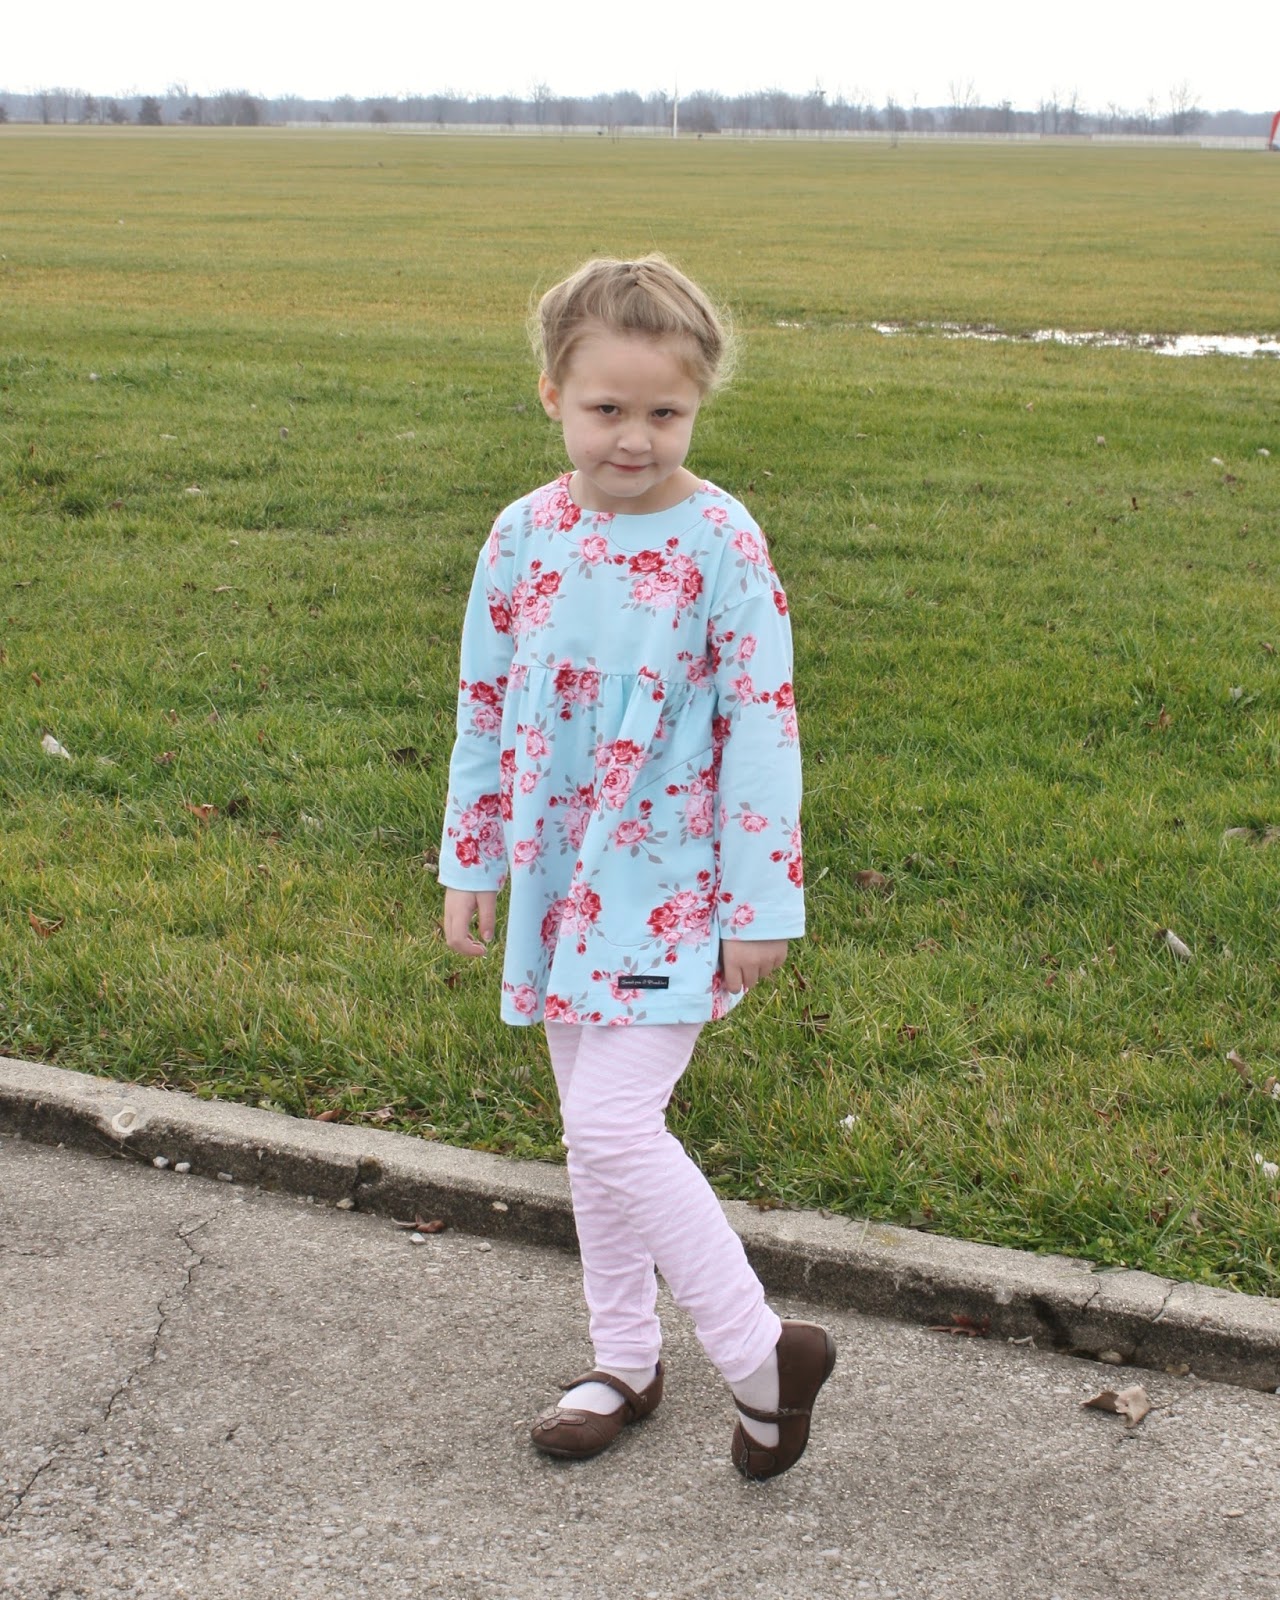
The Playtime Dress/Tunic & Leggings by Oliver+S
** If you would like to see an image on our blog in a larger format, just click on it to enlarge.
Note: Links to products within this post are either links to our website or affiliate links.
Before we begin with today's lesson be sure to read all of the patterns instructions. Today, and throughout the entire sew along, you will need your pattern in hand to go along with each lesson.
Welcome to Day 4
*Note: the leggings are sewn with a 1/4" seam allowance*

1. Take one of your leg pieces and fold it in half with the right sides together, pin the leg portion only. Serge or sew with a stretch stitch. Remember that the leggings seam allowance is only 1/4". Repeat with second leg.

2. Press your seam to one side.

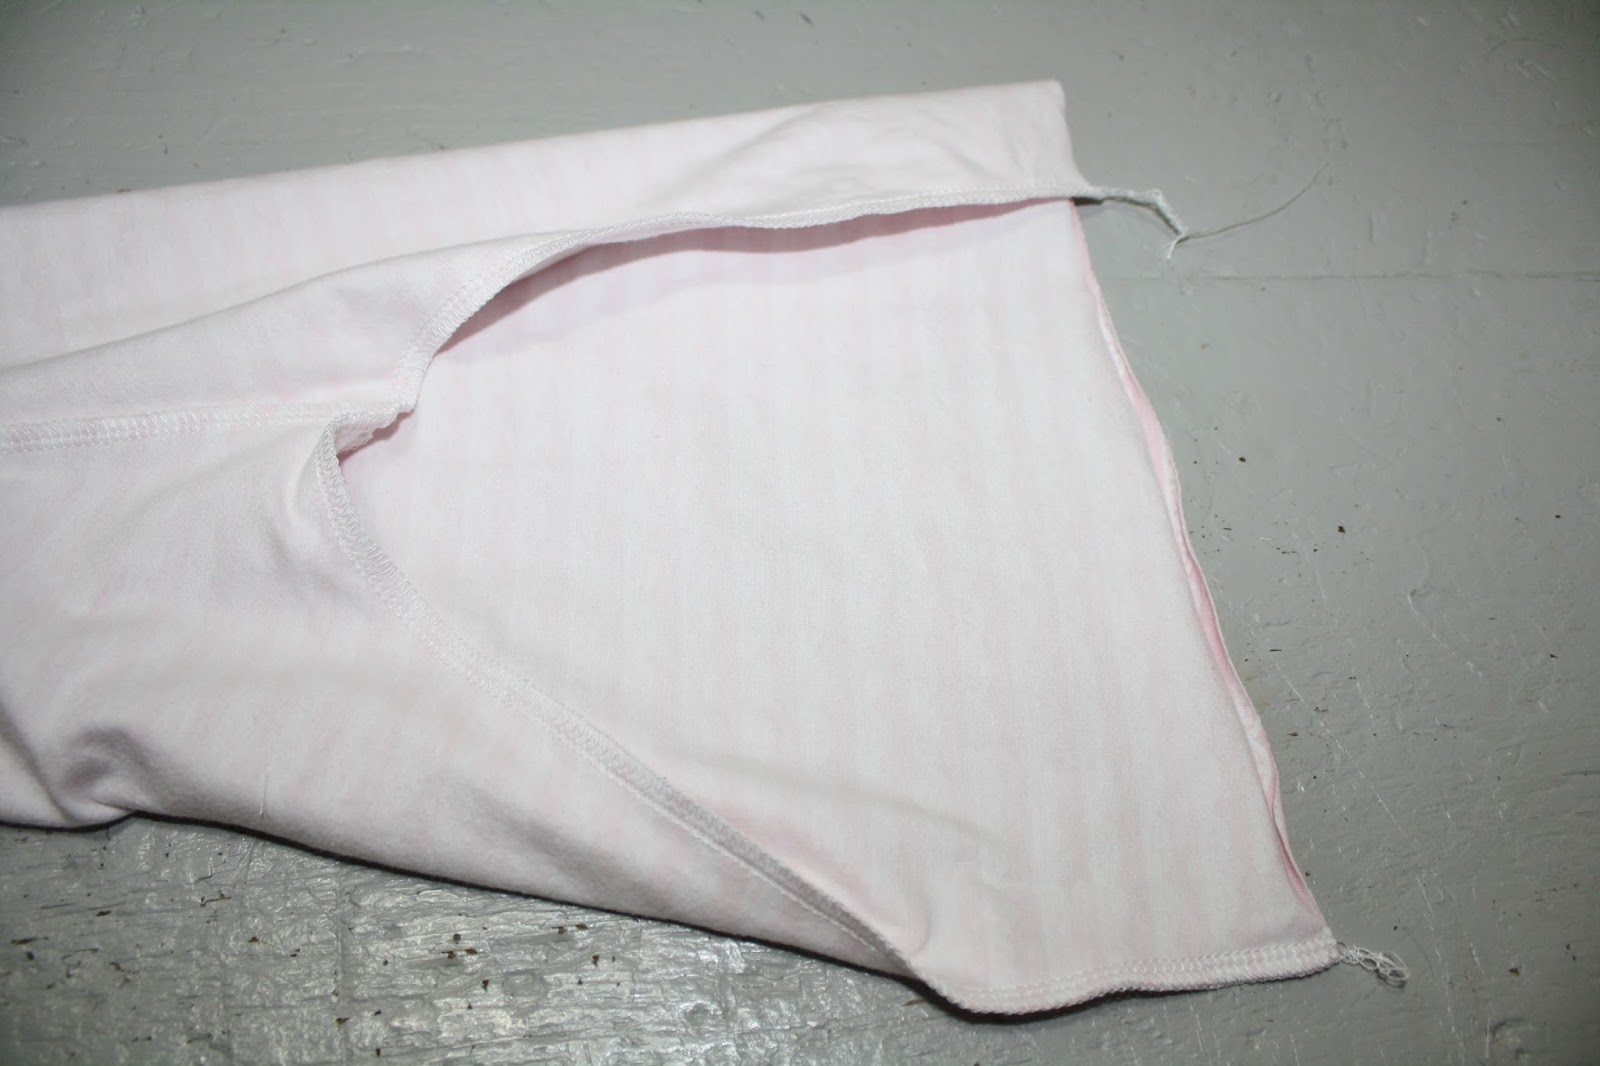
3. Turn one of your legs right side out and leave one wrong side out.

4. Place the one legging that is right side facing out into the legging that is wrong side facing out. Match the leg seams and pin in place. Finish matching up the marks you transferred from the pattern and pin the raw edges all the way around the rise.

5. Serge or sew the seam.
6. Press the seam to one side then serge the top edge of the pants. If you do not have a serger you can sew a zig zag stitch here instead.

7. Press the top finished edge down 1" pin place.

8. Next, use a fabric marker to draw a line around the leggings 7/8" down from the top edge on the right side. This will be your stitch guild line to make the casing with.

9. Using your twin needle, sew on your line all the way around and leave a 1 1/2" opening on the center back, for installing the elastic.

10. Take your elastic and cut it 1" shorter than the child's waist measurement. Insert it into the casing through the opening you left on the top of the pants. I like to use a big safety pin for mine. I also pin the one end of the elastic to the pants near the opening. This will keep the elastic end from being pulled into the pants while we are feeding the elastic through the casing.

11. Pull the elastic all the way through the casing and back out the opening and give yourself some slack to work with. Overlap the elastic 1", then sew the elastic together. Pull the elastic back through the opening and stitch the opening closed from the right side of the leggings.

12. Finish the bottom edges of leggings legs on both sides, with your serger or a zig zag stitch.

13. Press the bottom up 3/4". Just as we marked a stitching line on the right side of the pants at the waist we will also mark each bottom leg. The legs we will mark 5/8" from the folded edge. Mark both legs and sew on the right side with you twin needle on top of the marking you just made on each leg.


We are all done!! Now time to try our outfits on our little girls and admire our work!!

Be sure to share you outfit in our Facebook group and thank you for sew along with us!!!
Happy sewing,
Sharon
*If you would
like to earn entries into the prize drawing, please make sure to submit
a photo of your completed Lesson Four to this Facebook Album by 12:00 noon CT, Thursday, January 28th. If you
have any questions the Facebook Group is a great place to ask.
No comments:
Post a Comment